- Recommended for these people
- ・Those who want to take clear, blur-free photos even in a dark aquarium
・Those who want to enjoy more impressive photographic expressions
・Those who are not familiar with operating a camera
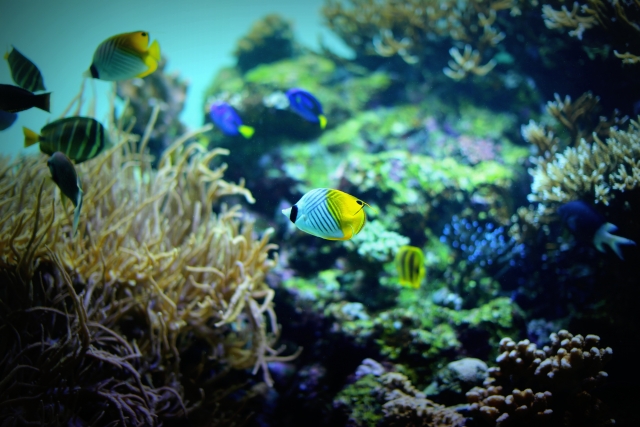
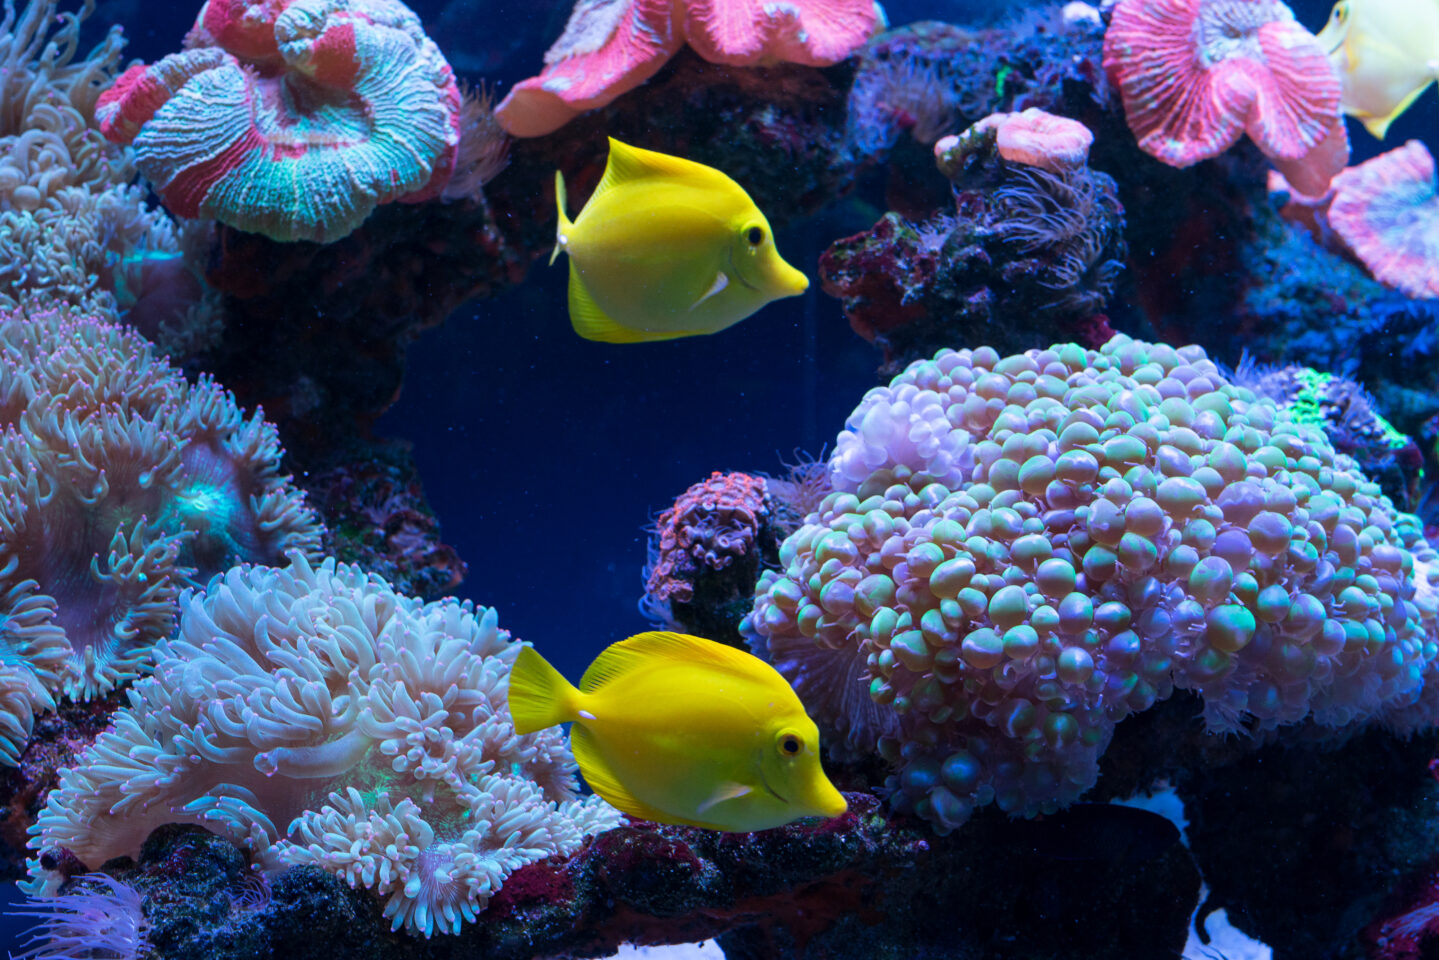
Aquariums are special spaces where fantastical light and living creatures intertwine.
But they can also be a place where many challenges come in terms of photography, such as darkness and blurring, or distracting reflections on the glass.
In this article, we'll explain in an easy-to-understand manner the photography techniques and recommended settings to help you avoid mistakes at aquariums.
This page contains advertisements
Use different lenses depending on the situation
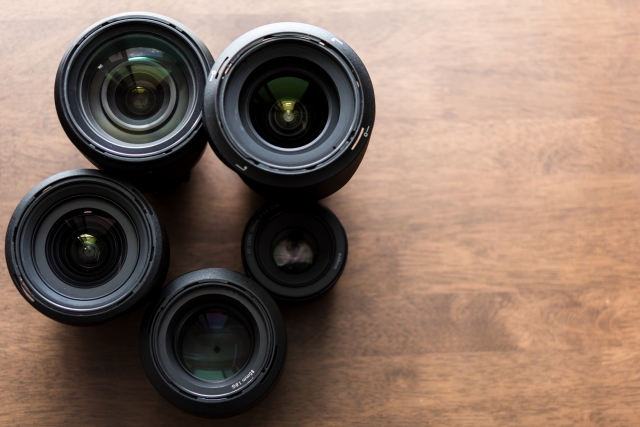
At aquariums, the distance from the subject and the size of the aquarium tanks vary greatly from location to location.
A standard to wide-angle lens is useful for taking pictures of fish swimming up close, but a telephoto lens will give you a better view of large aquariums far away or fast-moving dolphins.
For that reason, if you want to broaden your photography options, it's recommended that you bring two or more lenses.
If you want to make your subject stand out, a bright prime lens is effective
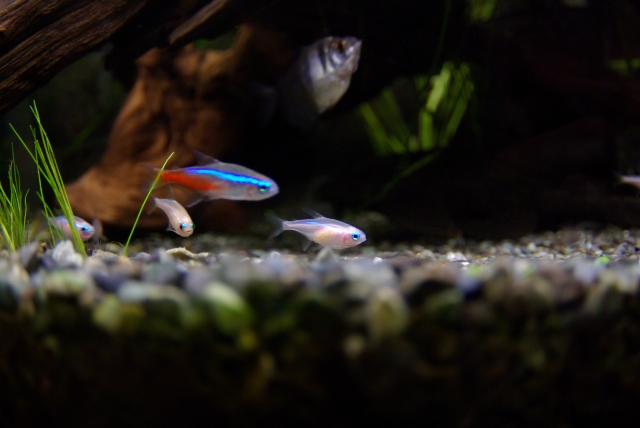
Prime lenses allow you to blur the background significantly (shallow depth of field), making the main subject, such as fish or jellyfish, stand out clearly.
Another advantage is that you can increase the shutter speed even in dark museums, making it less likely to cause blur.
Telephoto photography adds a sense of realism

Shooting with a telephoto lens can really bring out the realism of the moving animals in a large aquarium, such as dolphins, penguins, and sharks.
You can take a powerful shot that makes you feel as if you've entered that world.
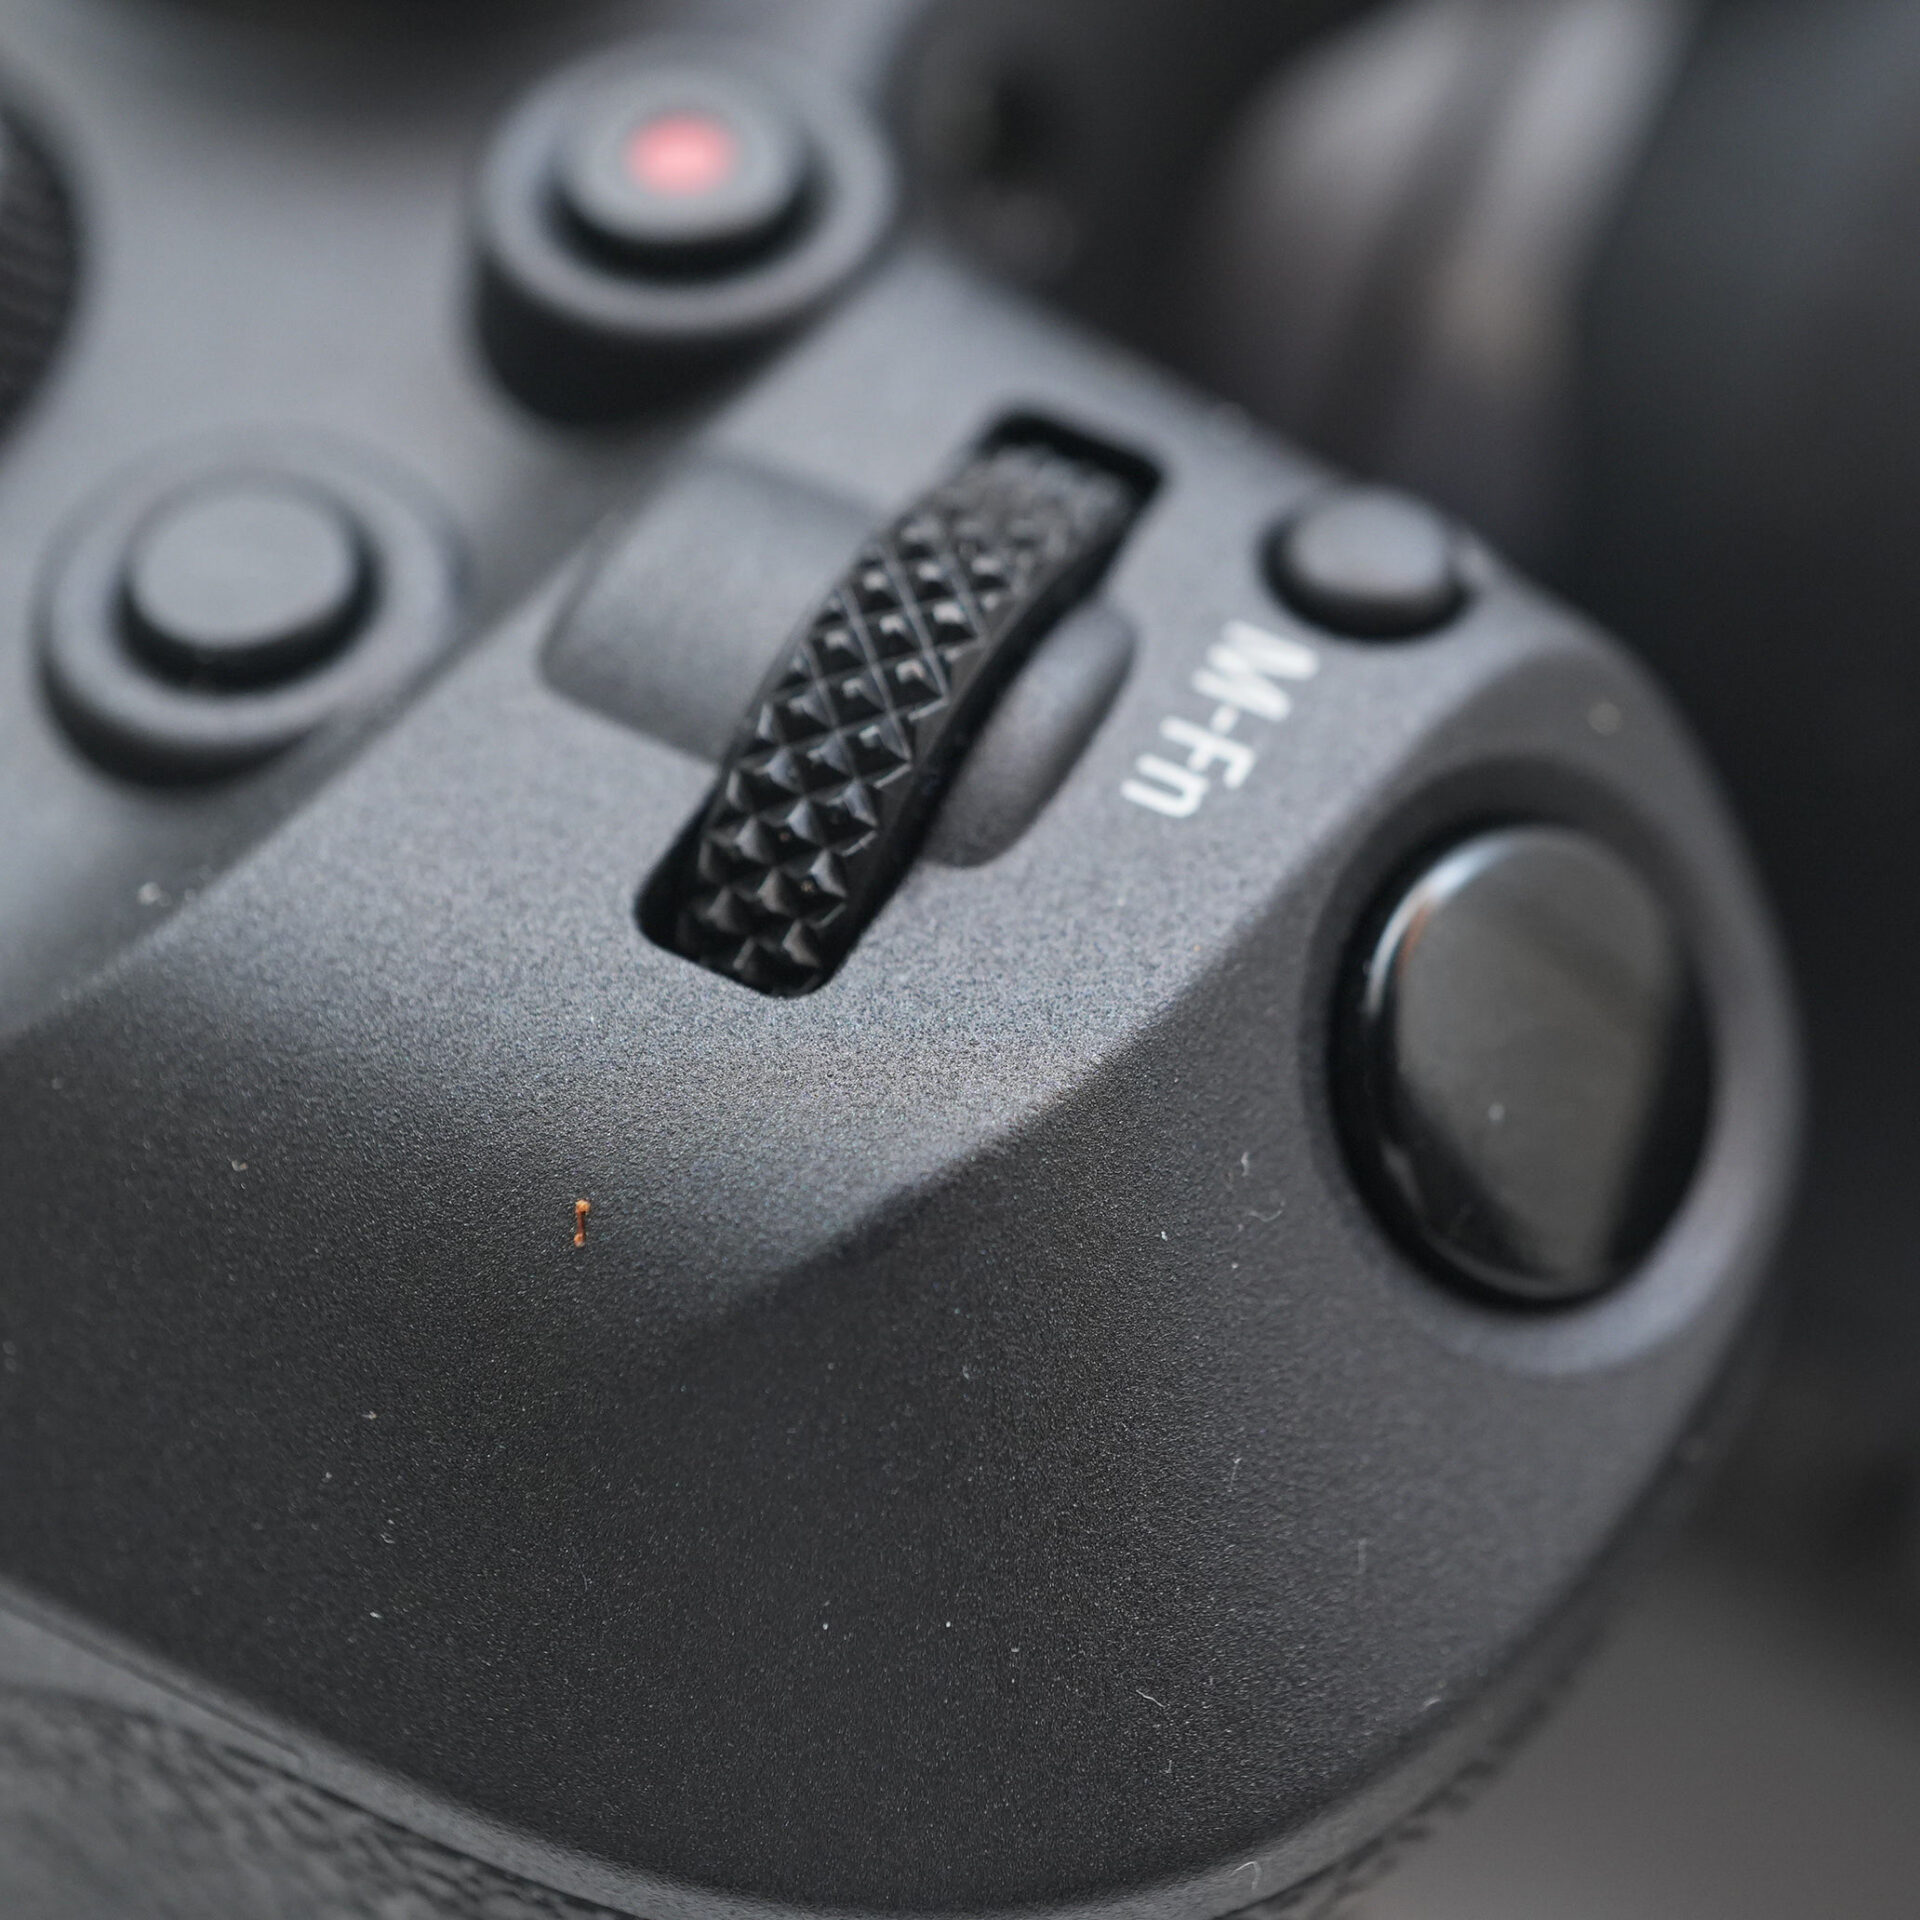
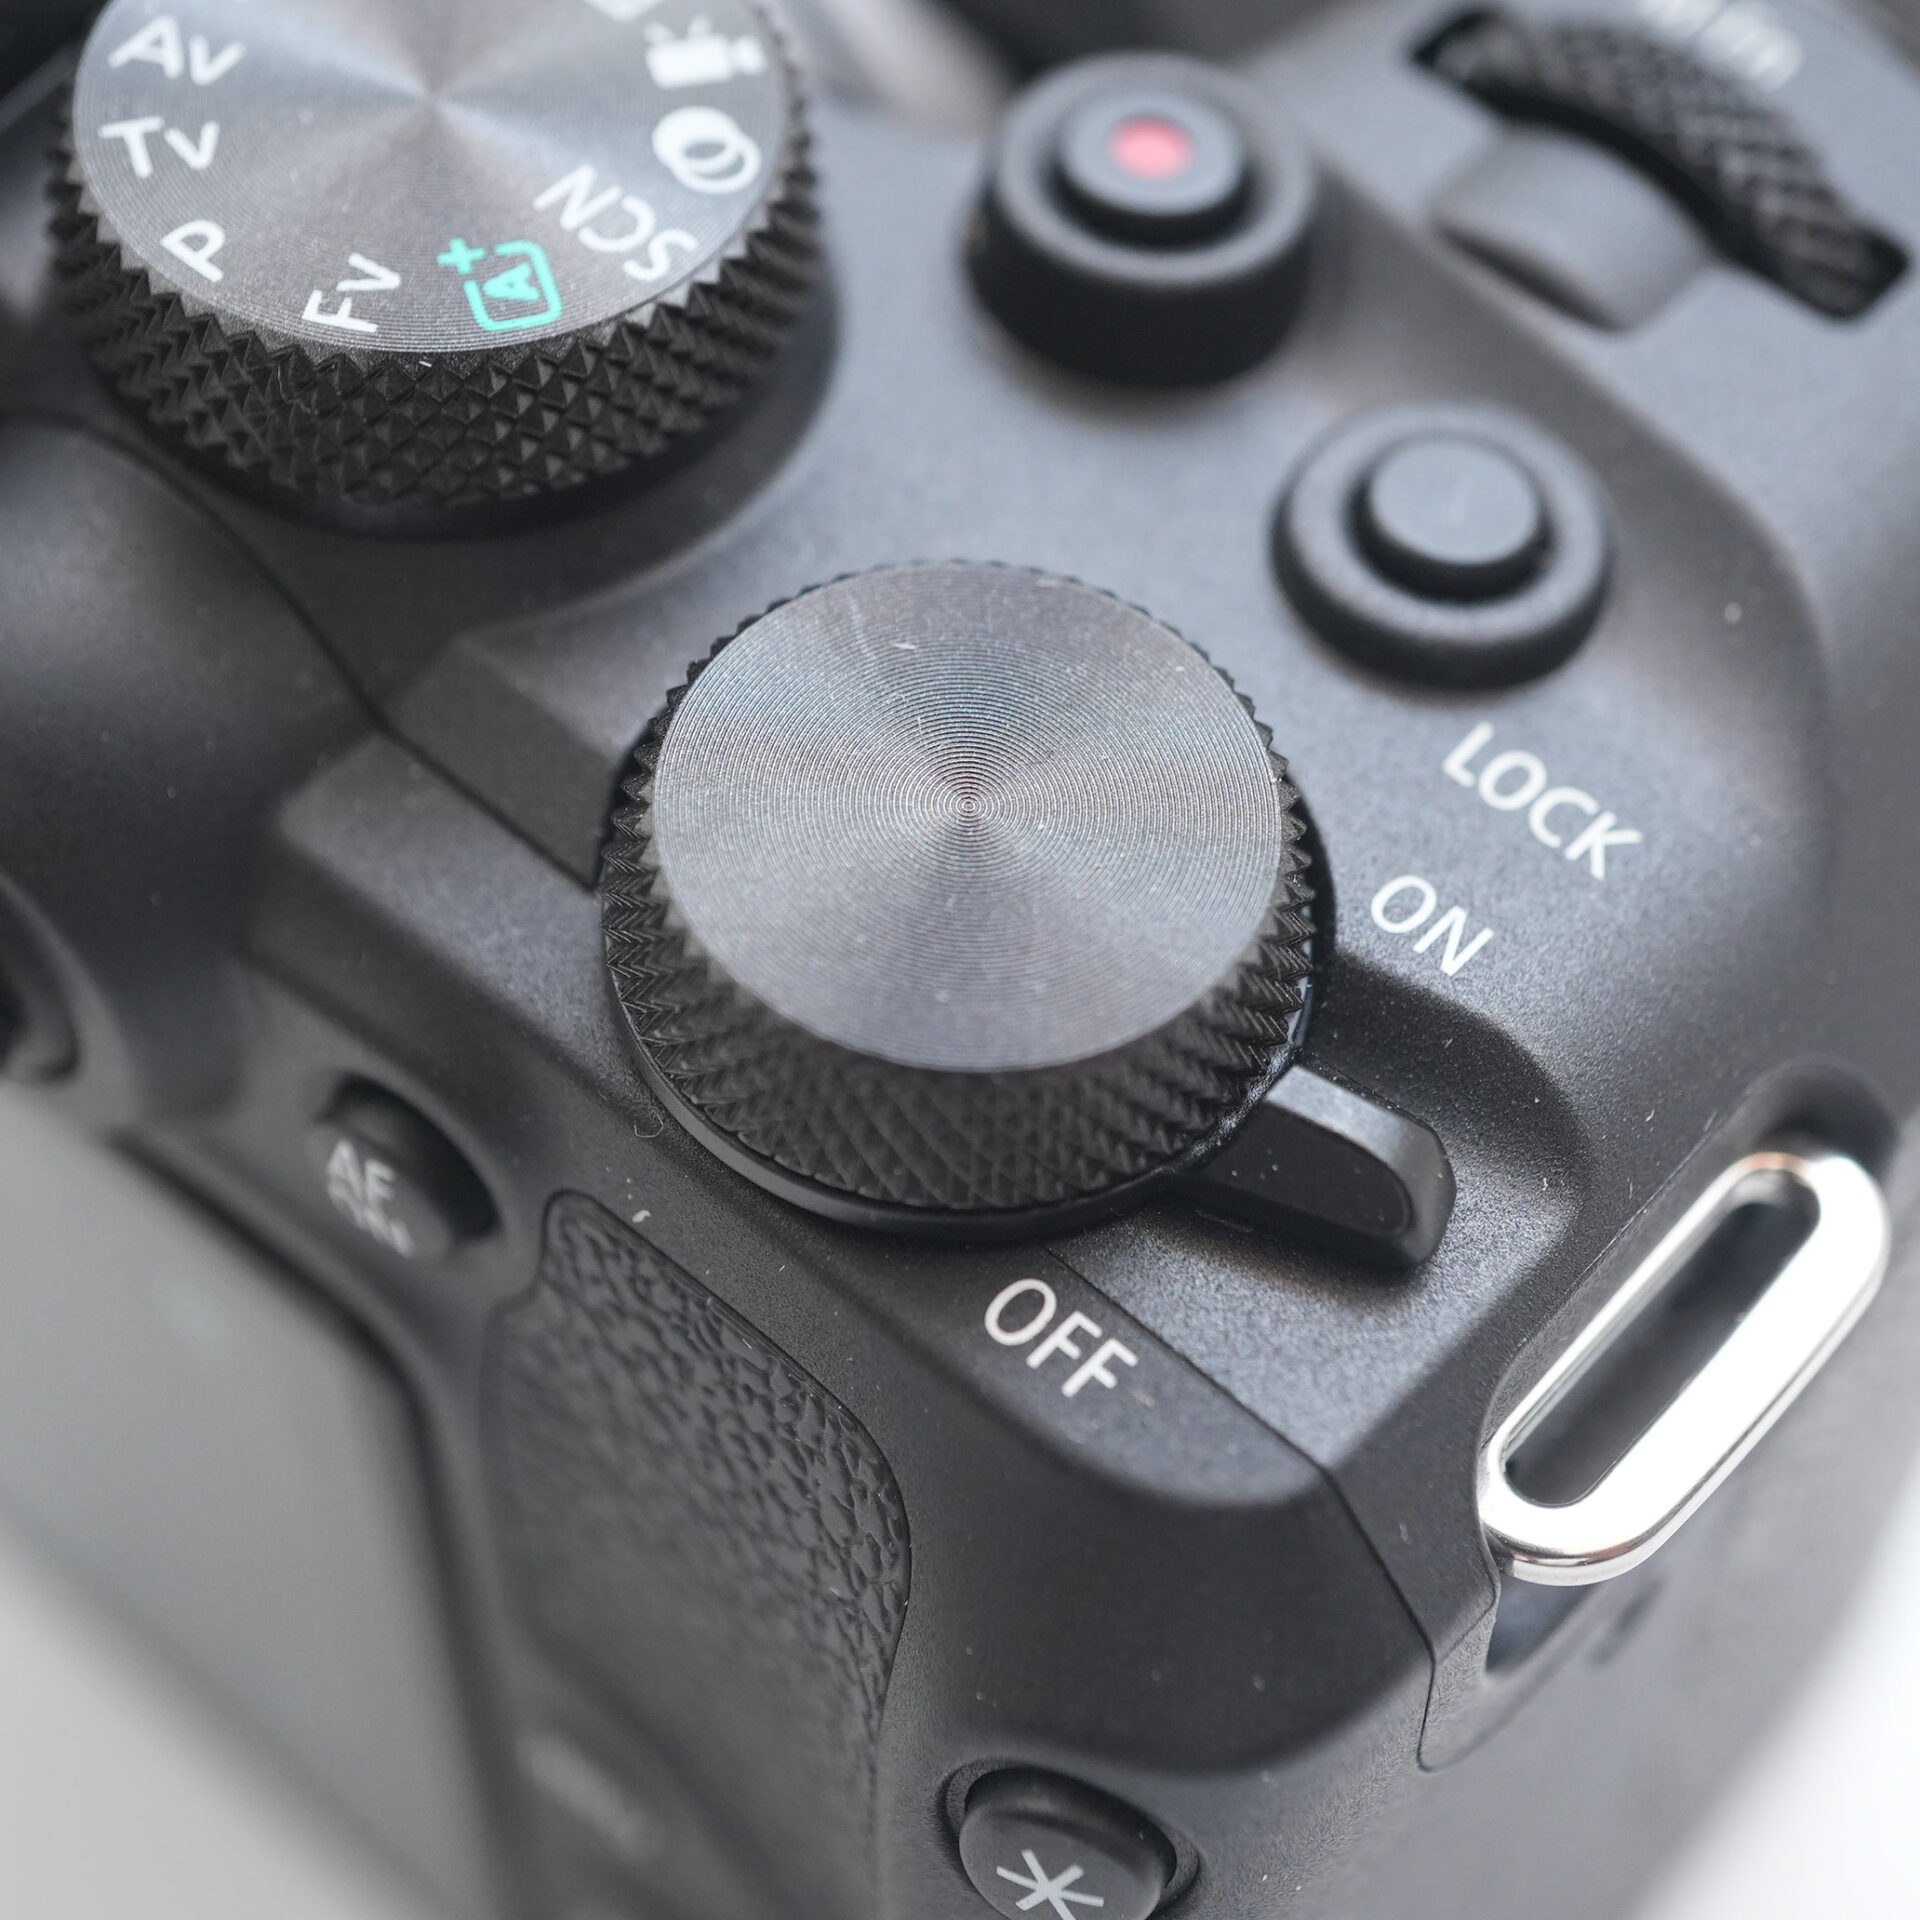
Set to M mode
By switching to M mode, you can adjust the brightness and blur to your liking, allowing you to take stable photos even in difficult environments.
It may be a little confusing at first, but once you become adept at using M mode, the range of expression will expand dramatically!
STEP.1
 |
| Set the dial to M. |
Set the F-stop to the lowest value
In dark places like an aquarium, it's important to ensure that the camera can capture as much light as possible.
A useful technique here is to set the f-stop as low as possible.
The F-number is the lens's aperture value, and the smaller the F-number, the more light the lens can capture, resulting in brighter photos.
STEP.1
 |
| Turn the front ring |
STEP.2
 |
| Set the F-stop to the lowest setting |
Set the ISO to 6400 or lower
In dark environments like an aquarium, it's common to increase the ISO sensitivity to take brighter photos.
However, raising the ISO too much can make grainy "noise" more noticeable on screen, ruining the image.
For this reason, it's best to keep the ISO upper limit at 6400 or lower.
STEP.1
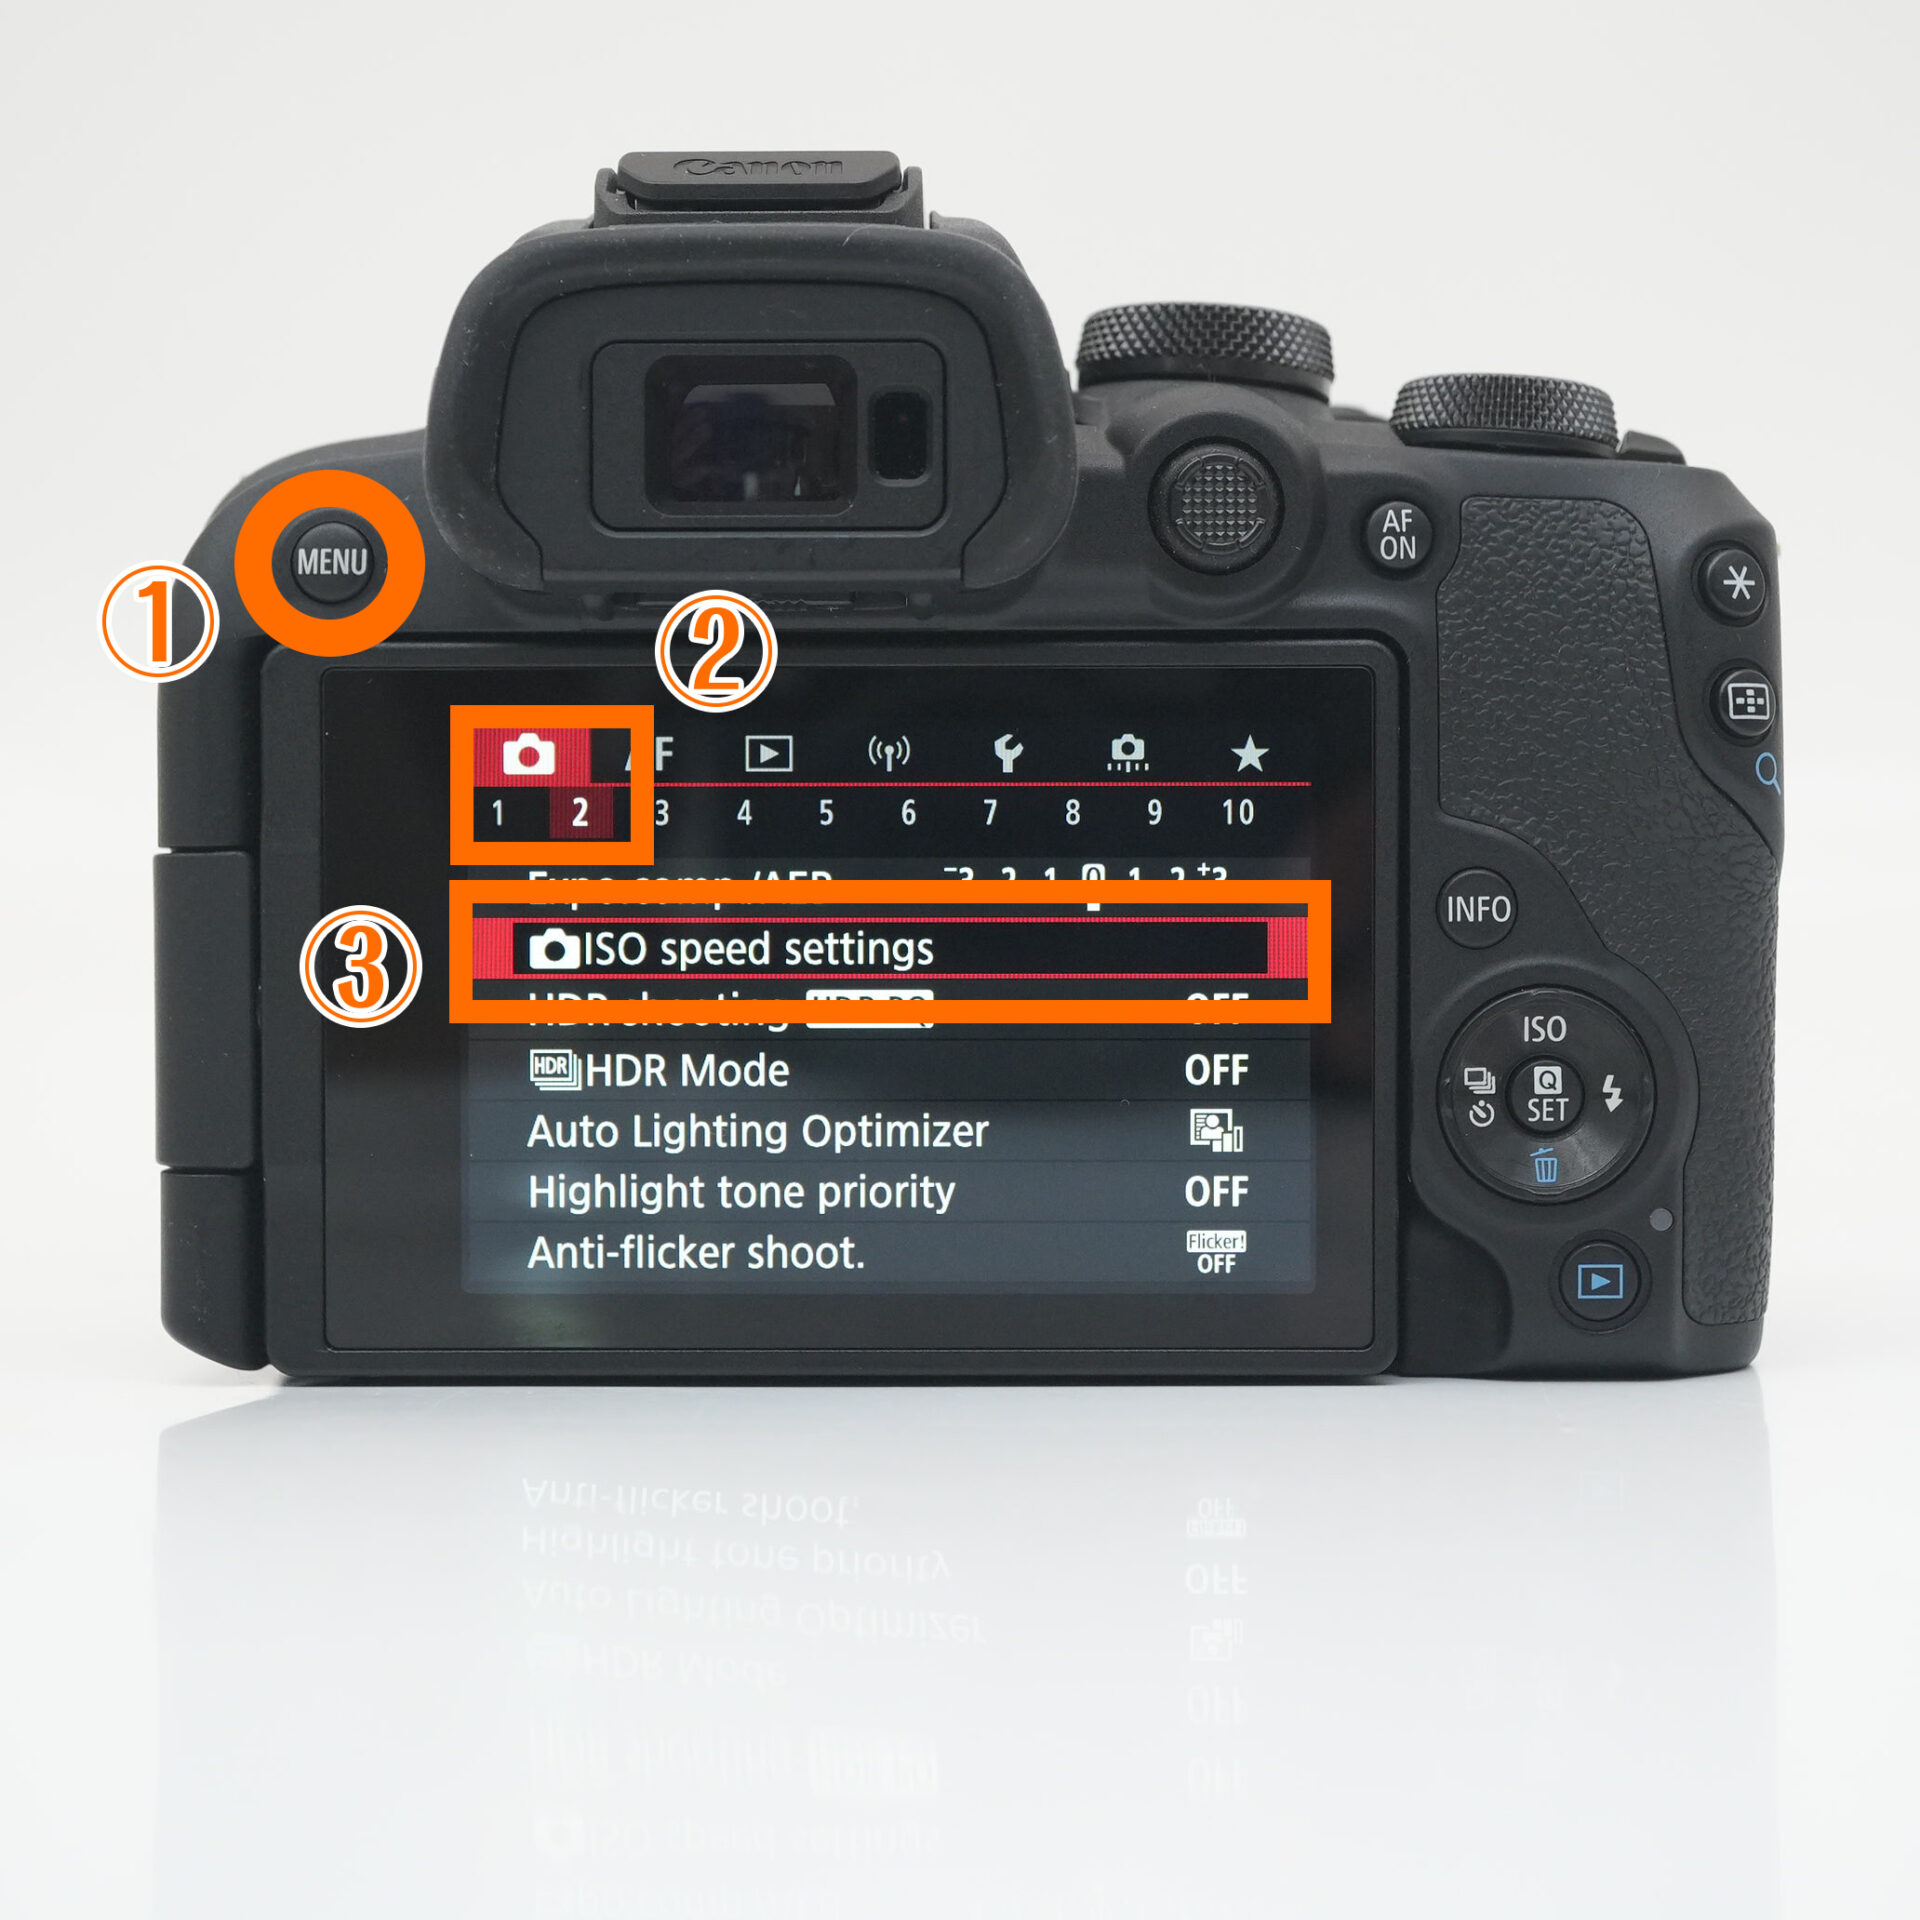 |
| Select Menu → Camera icon 2 → iso speed settings |
STEP.2
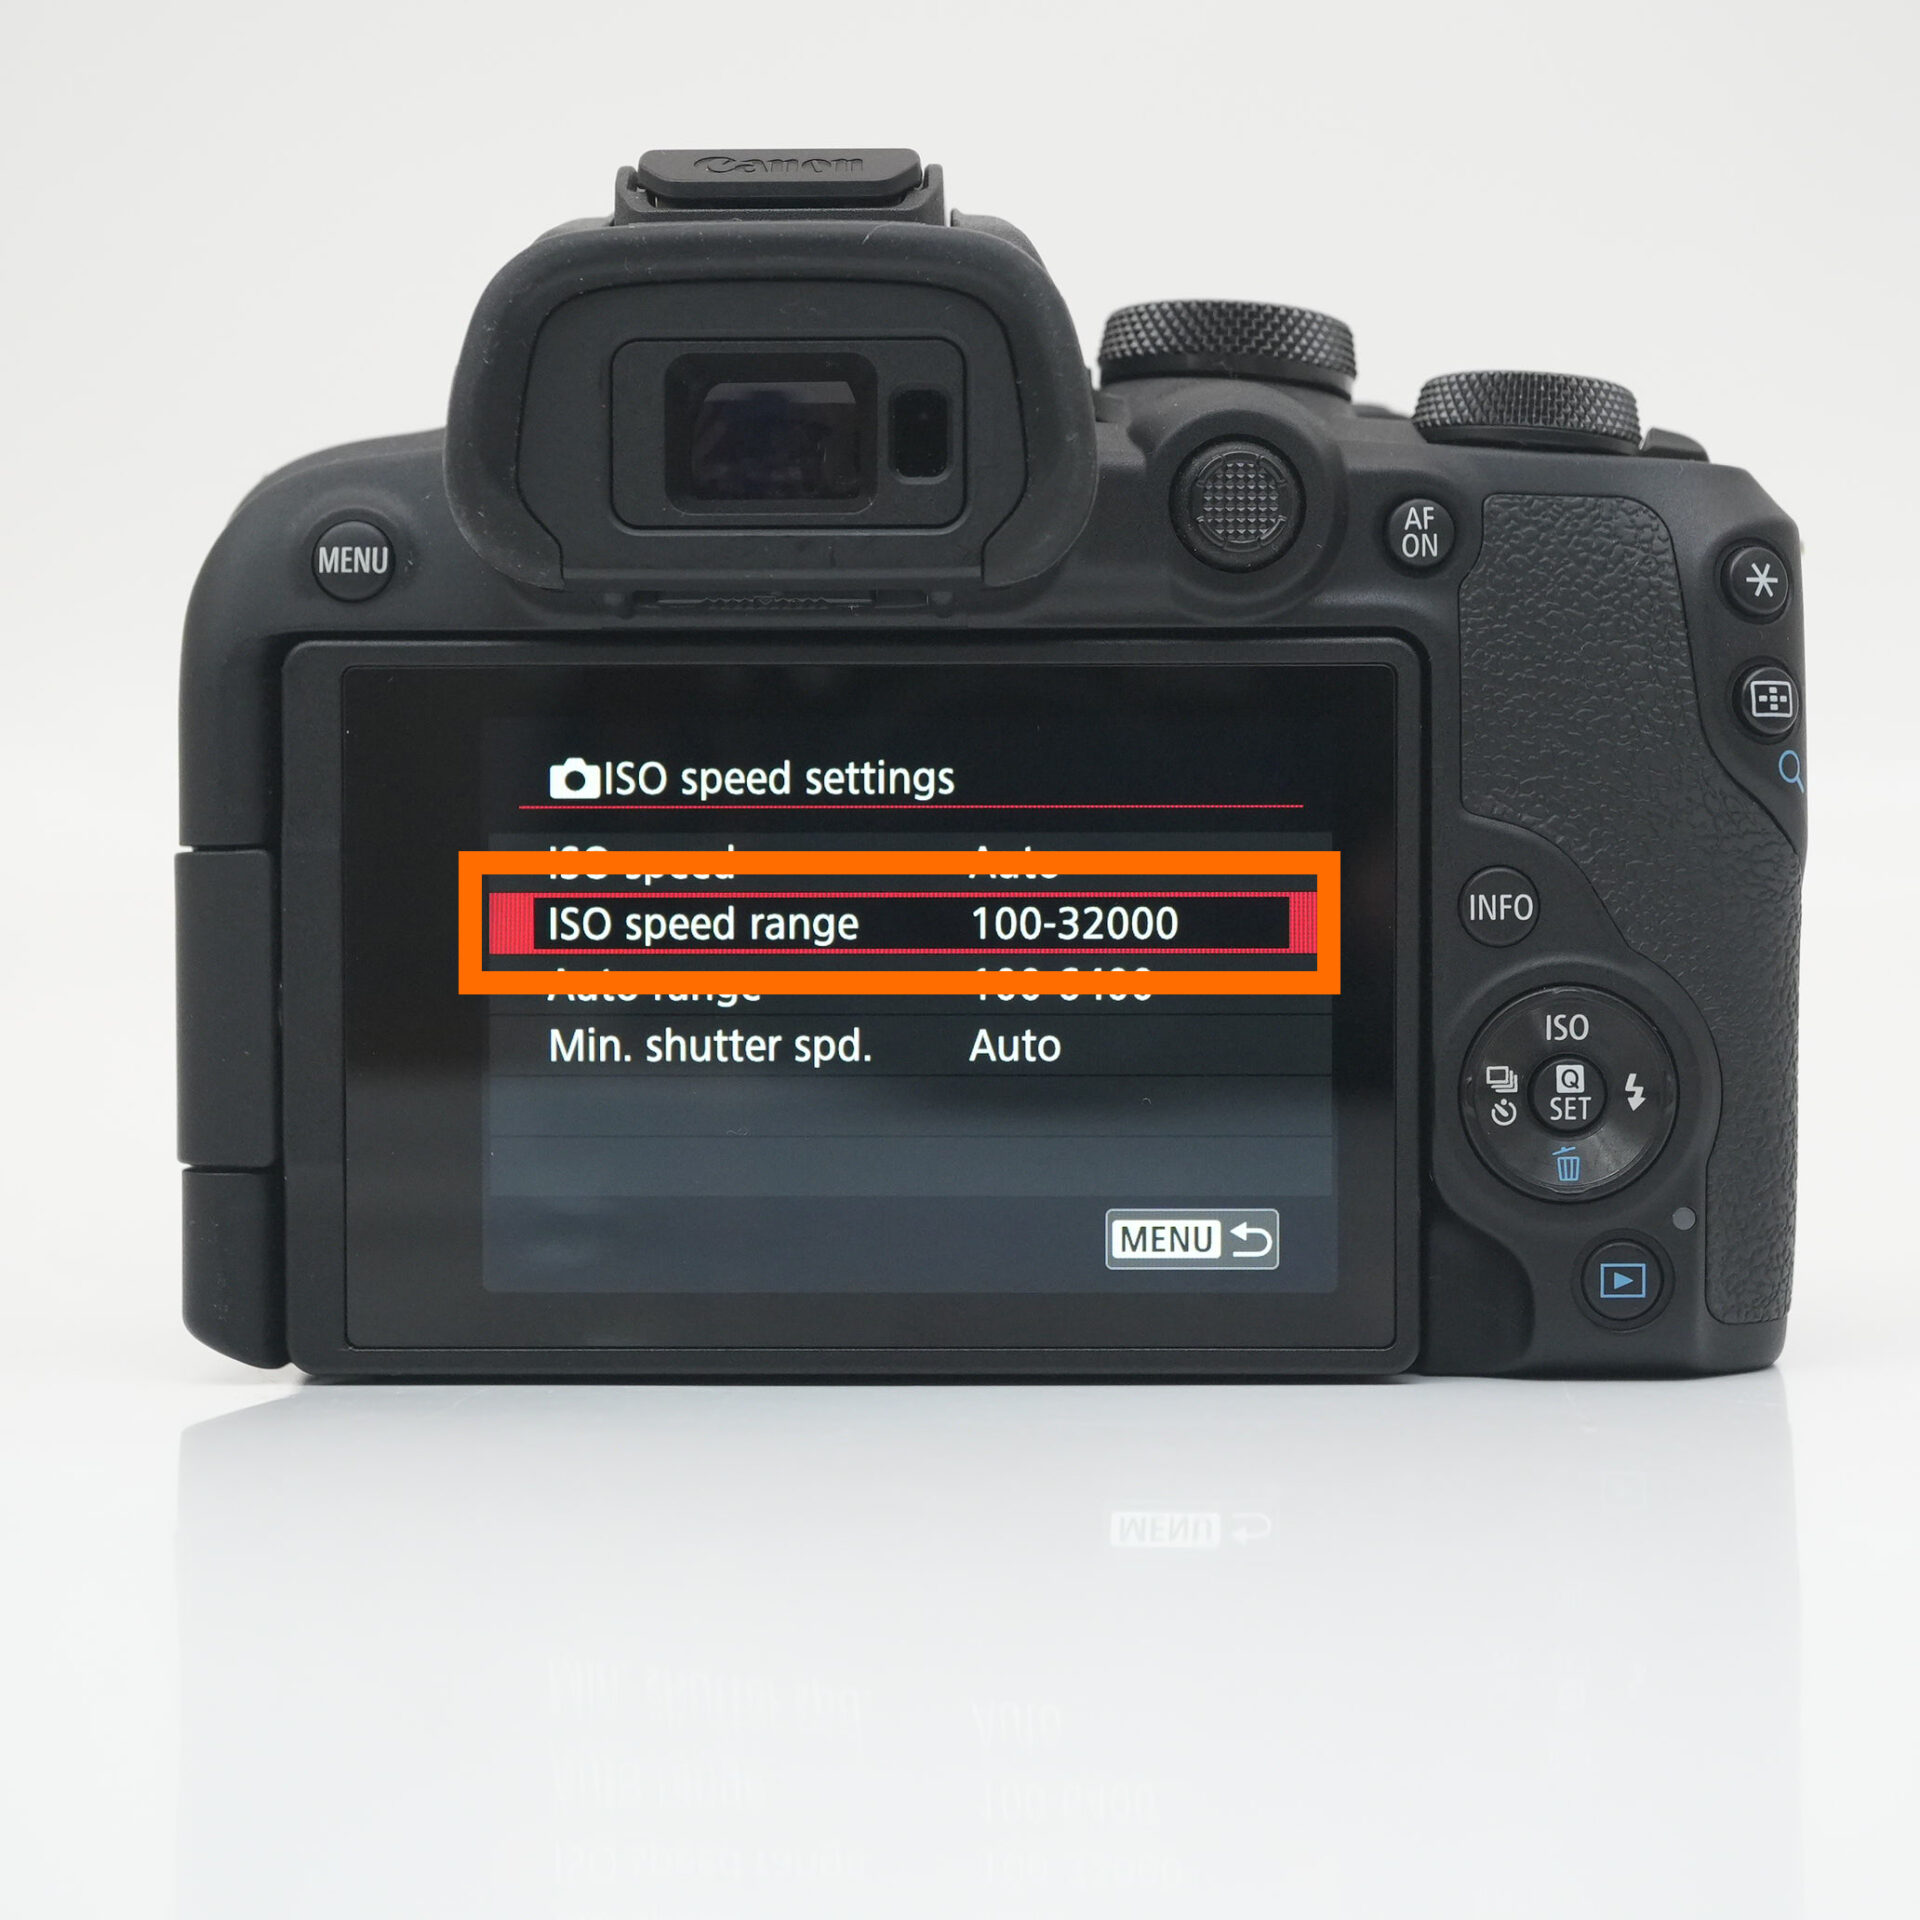 |
| select iso speed range |
STEP.3
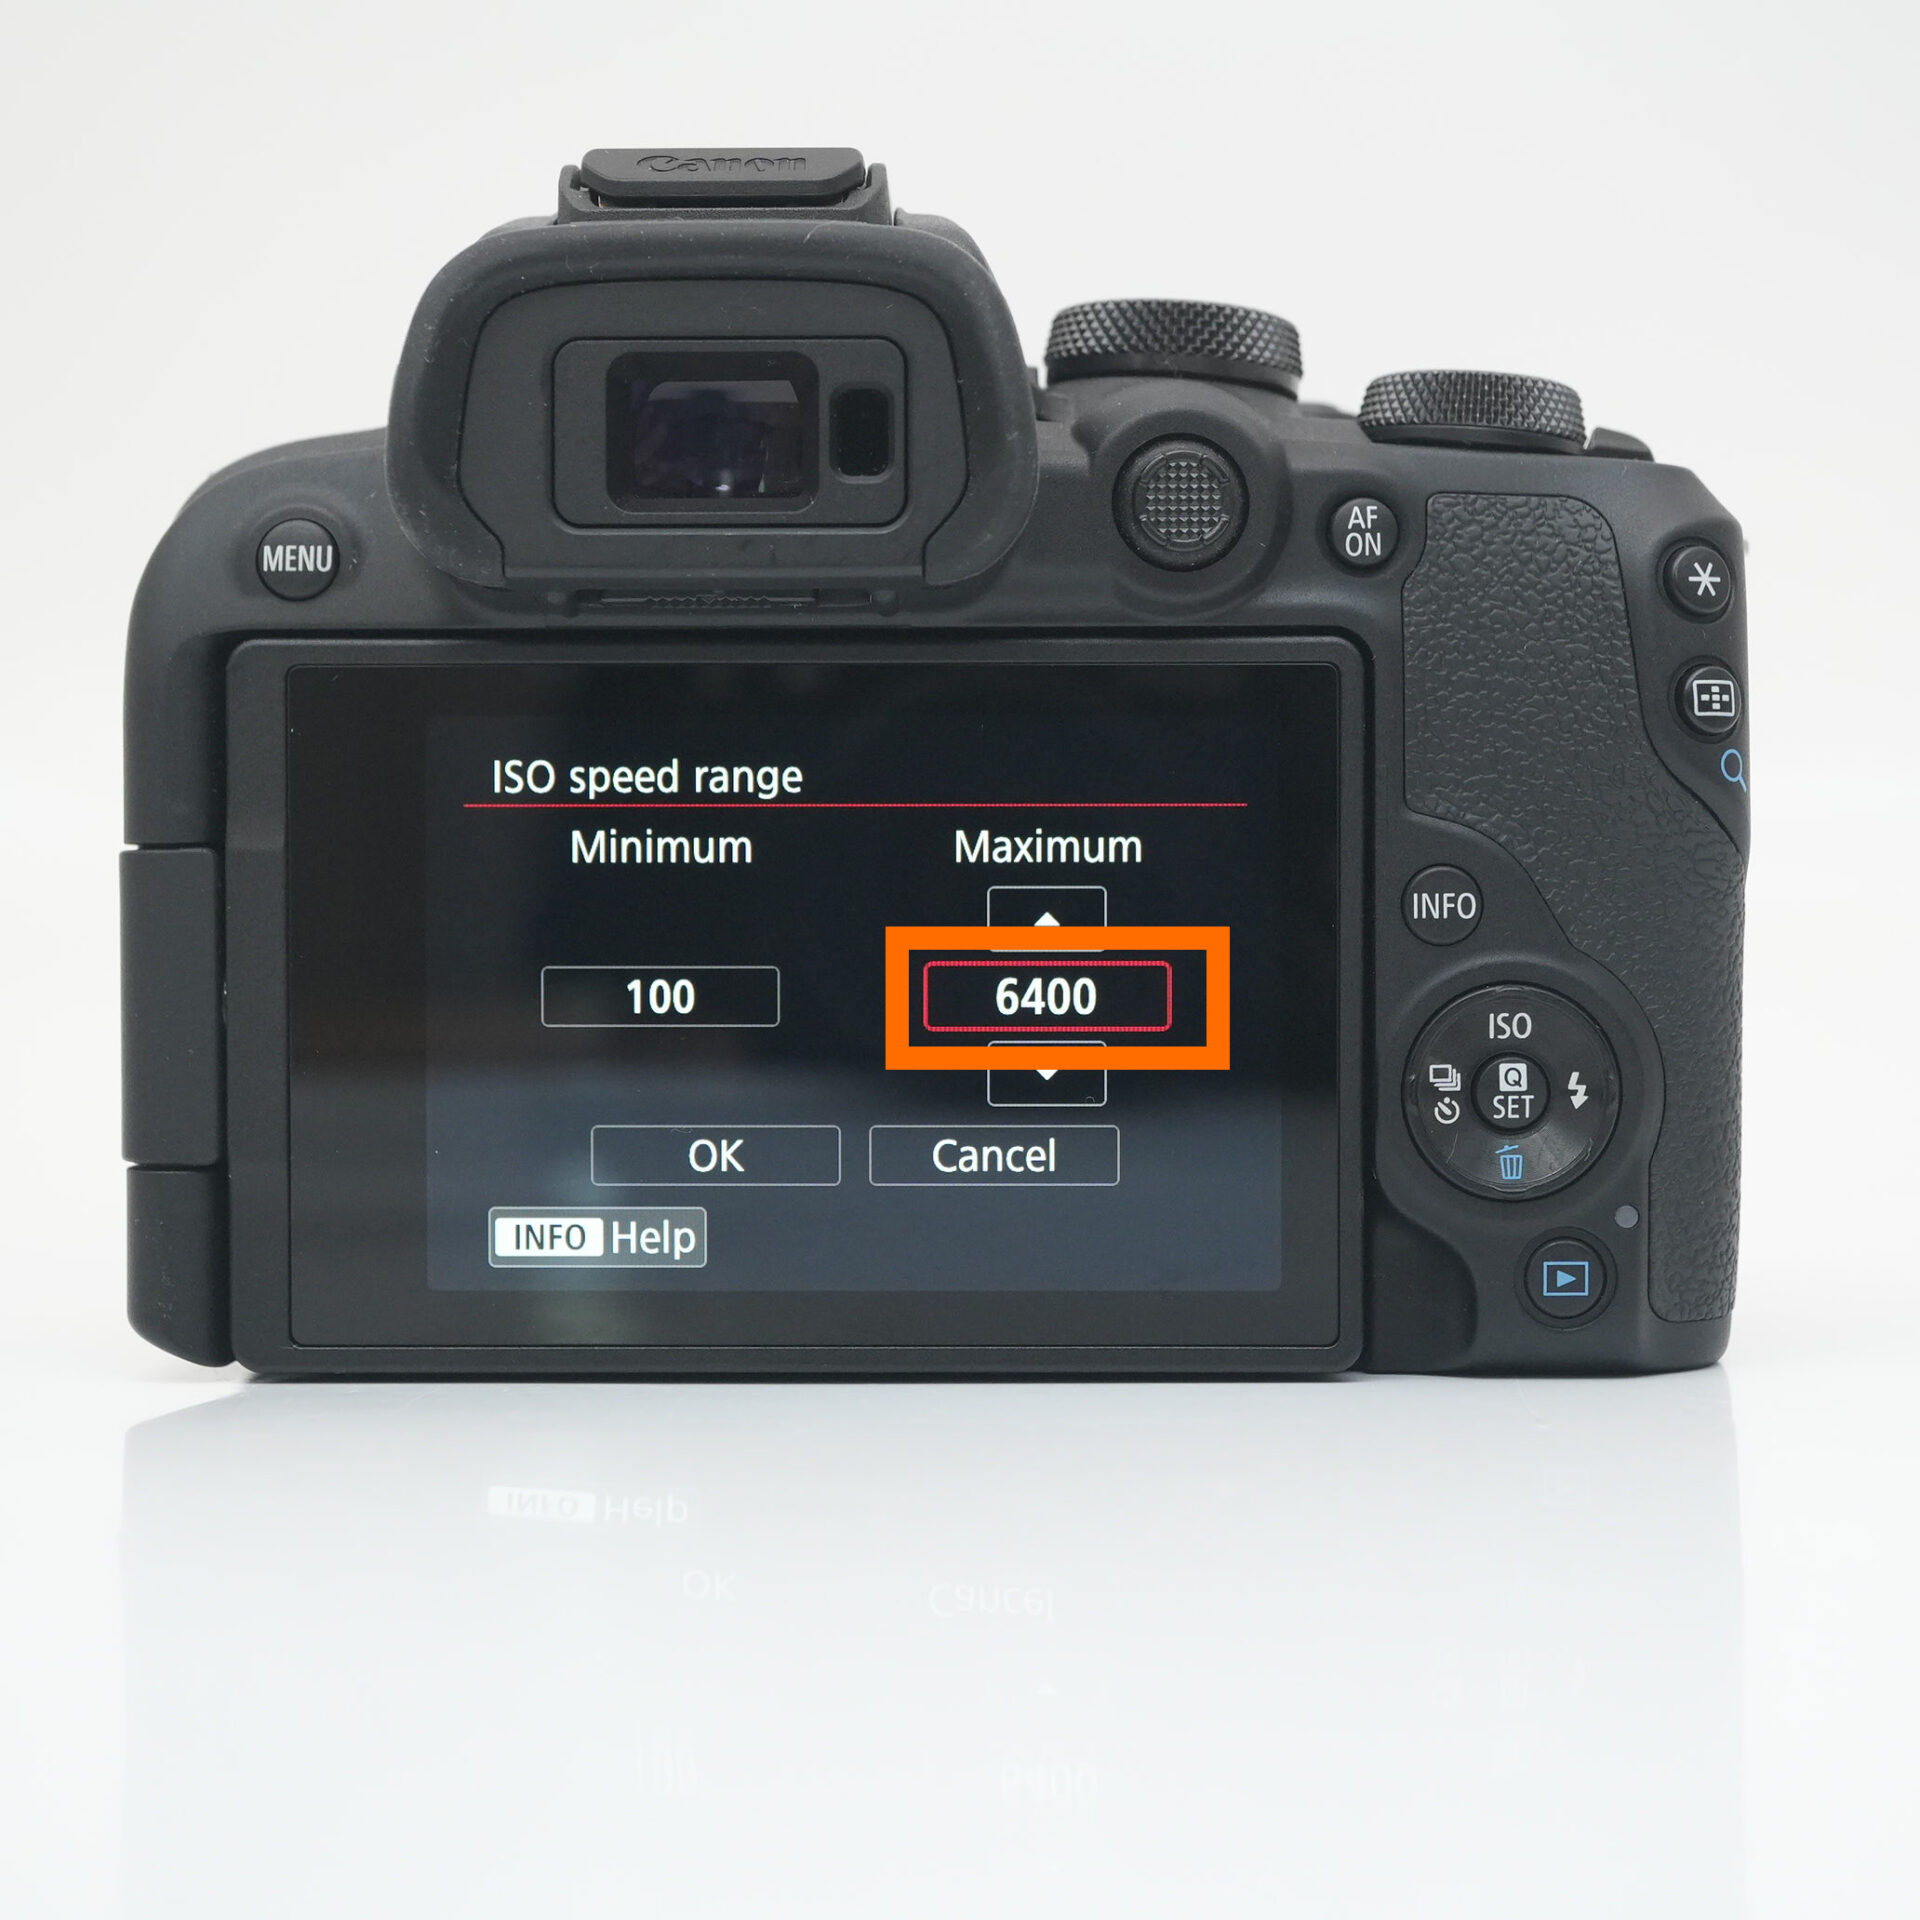 |
| Set it to 6400 |
STEP.4
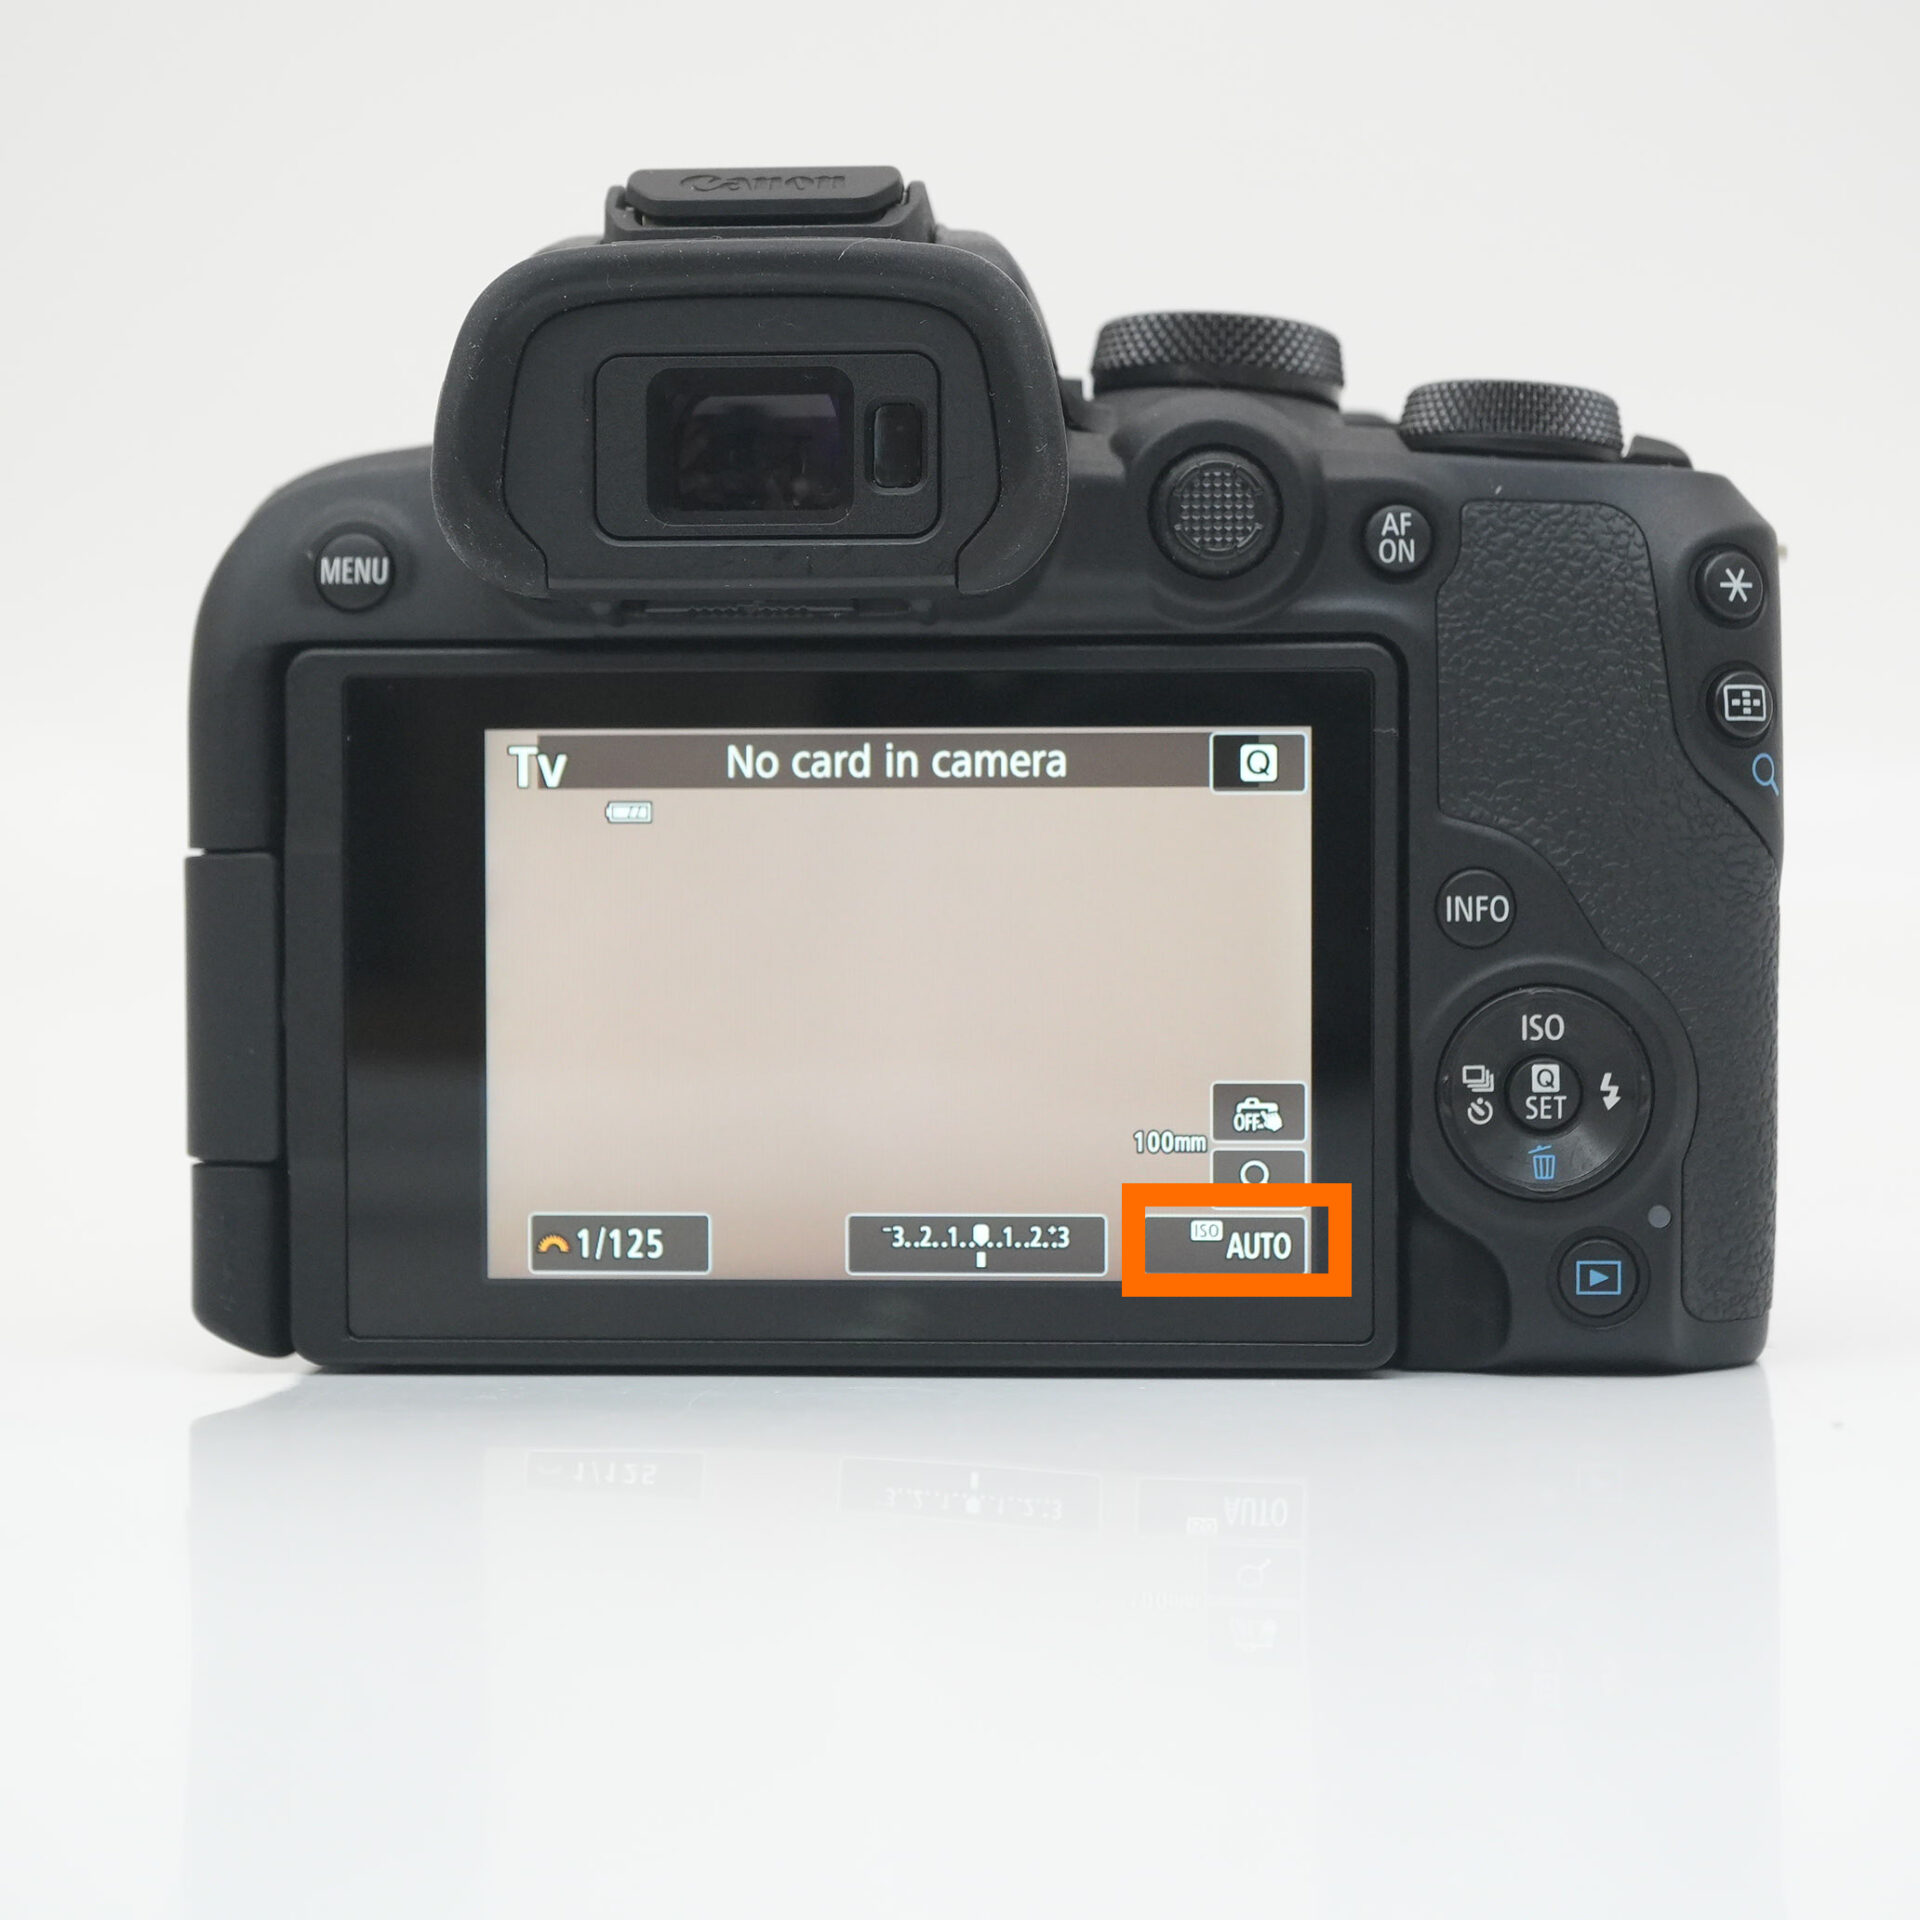 |
| Tap iso |
STEP.5
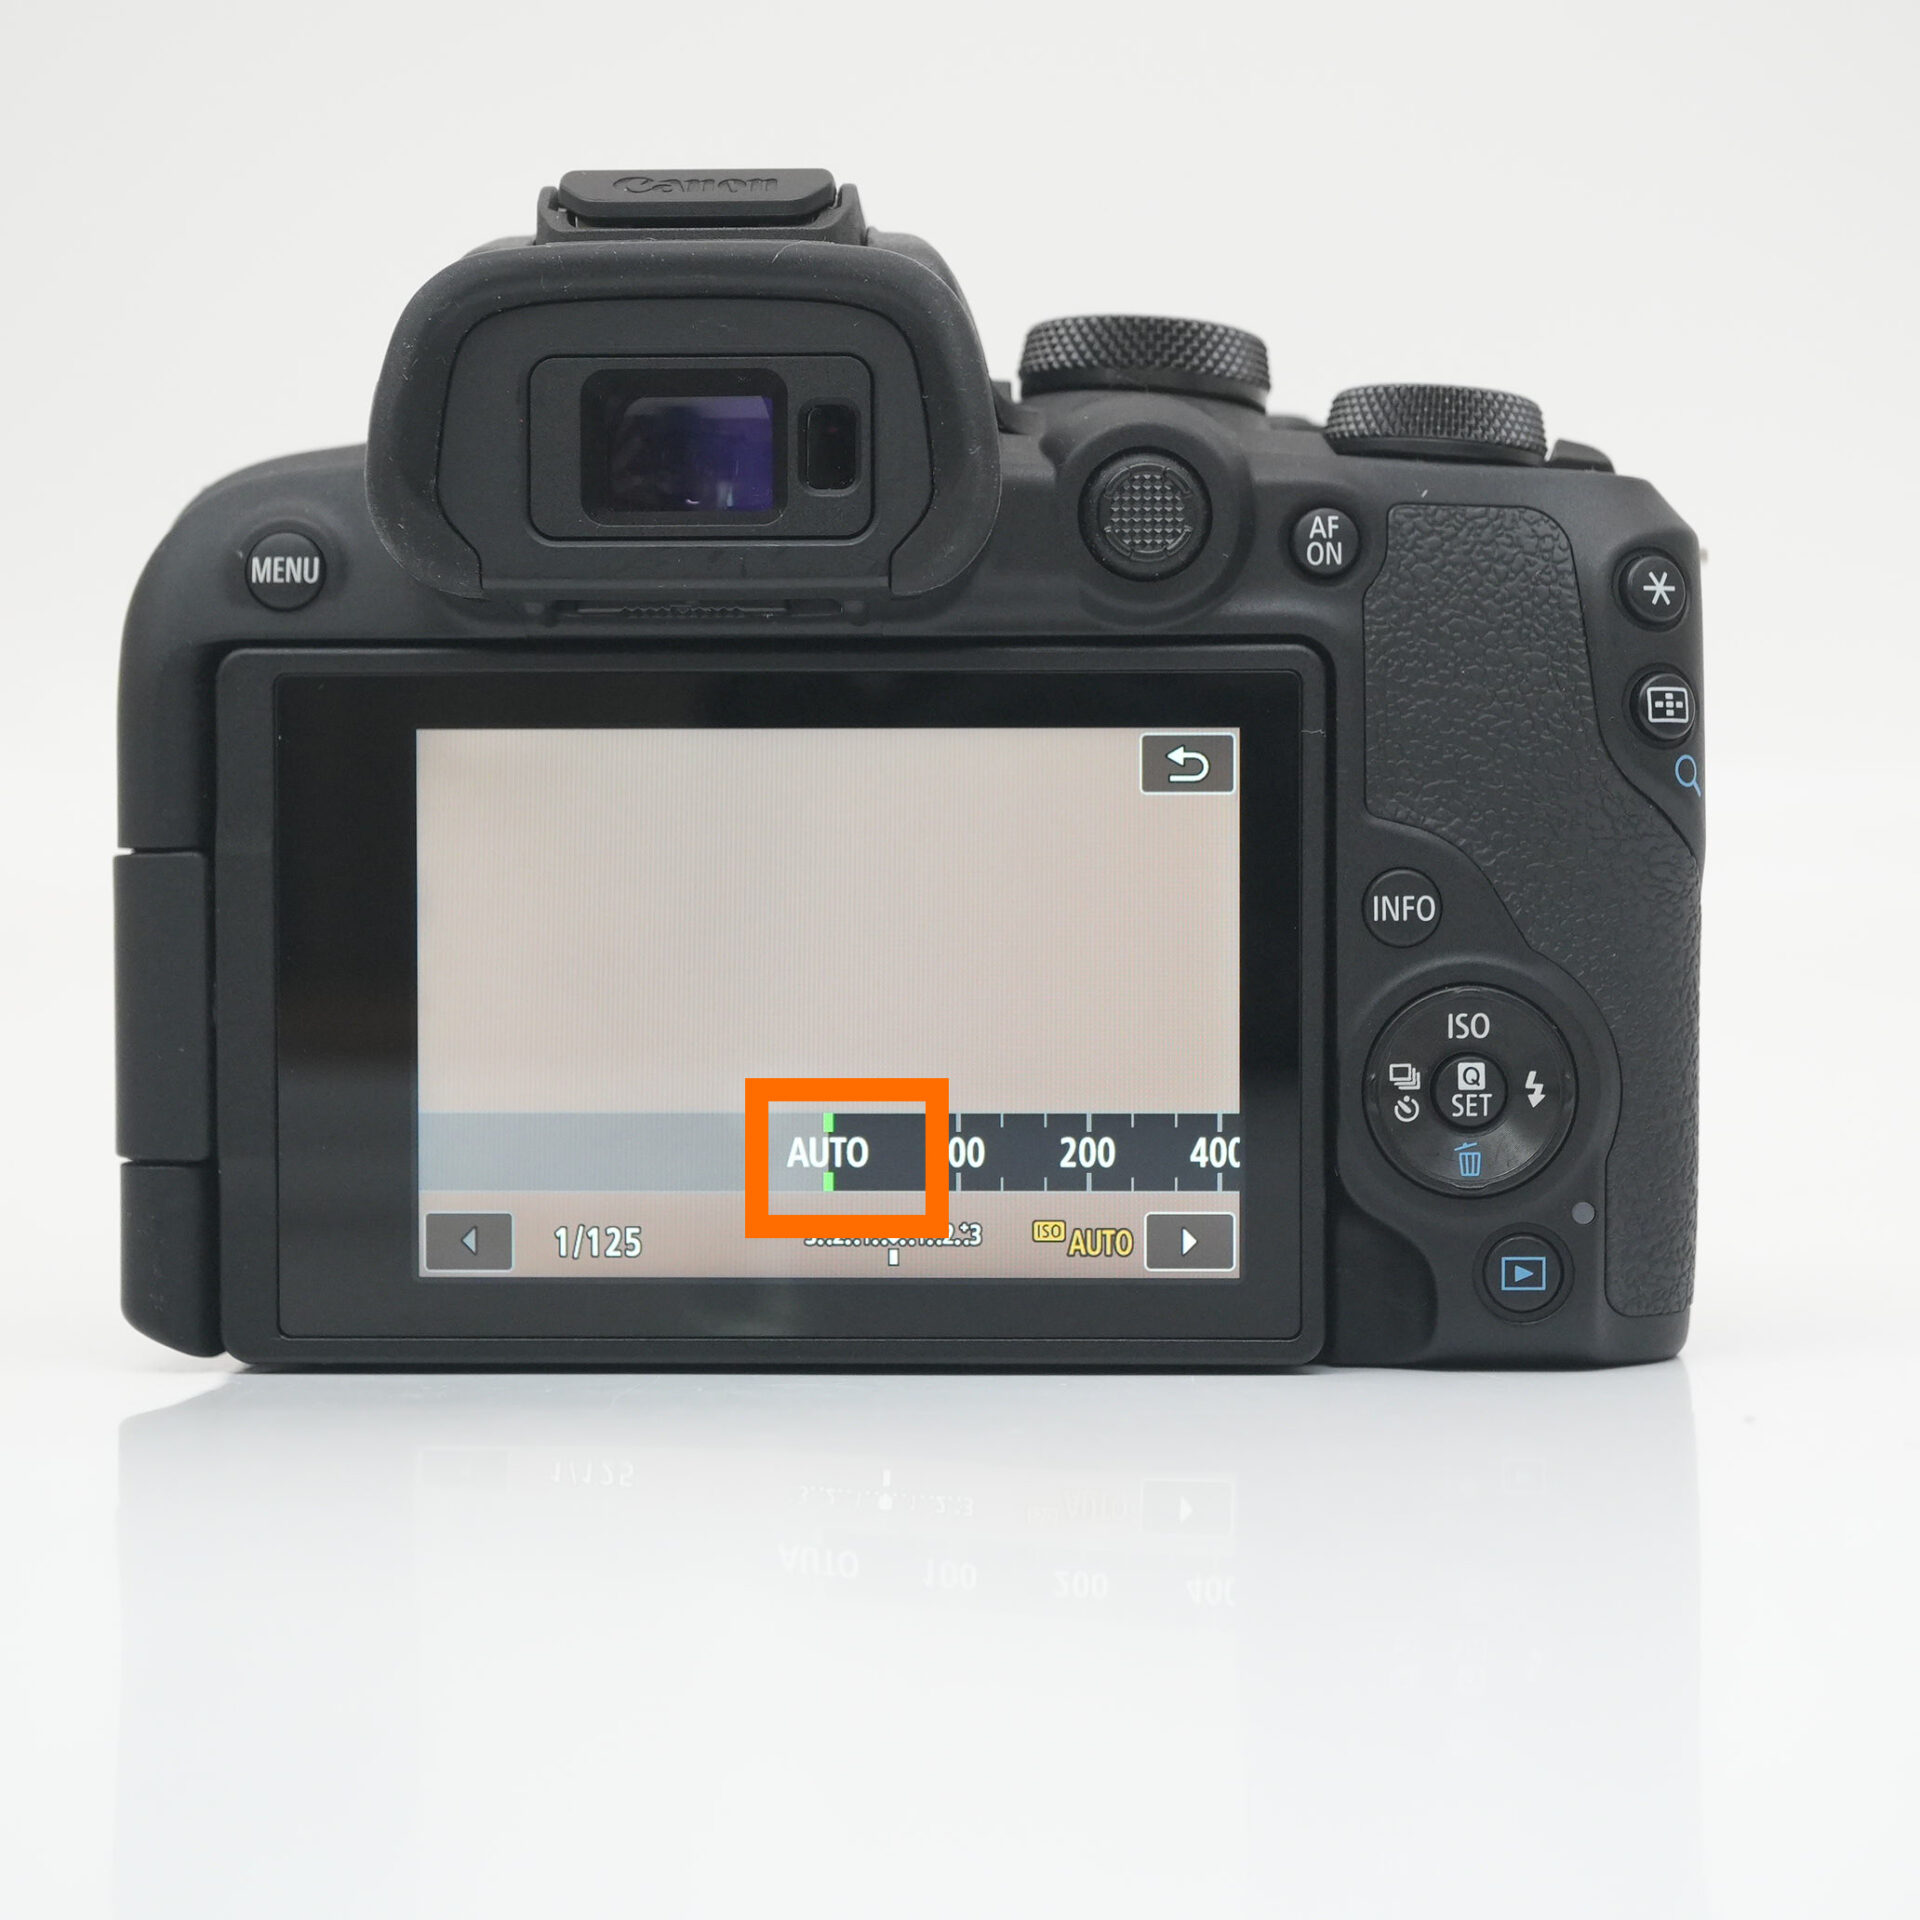 |
| Set iso to auto |
The shutter speed should be 1/100 seconds
In an aquarium, fish swim faster than you'd expect, so if your shutter speed is too slow, the subject may become blurred.
So we recommend setting it to 1/100 second as a base.
1/100 second is just the right speed to capture subjects that are moving to a certain extent without blurring.
- The key is to use different shutter speeds
- ・For slow-swimming fish → 1/60 to 1/80 seconds is fine
・For fast-moving fish or dolphins → Increase to 1/125 to 1/160 seconds
By controlling the shutter speed, you can take better pictures.
STEP.1
 |
| Turn the dial on the back |
STEP.2
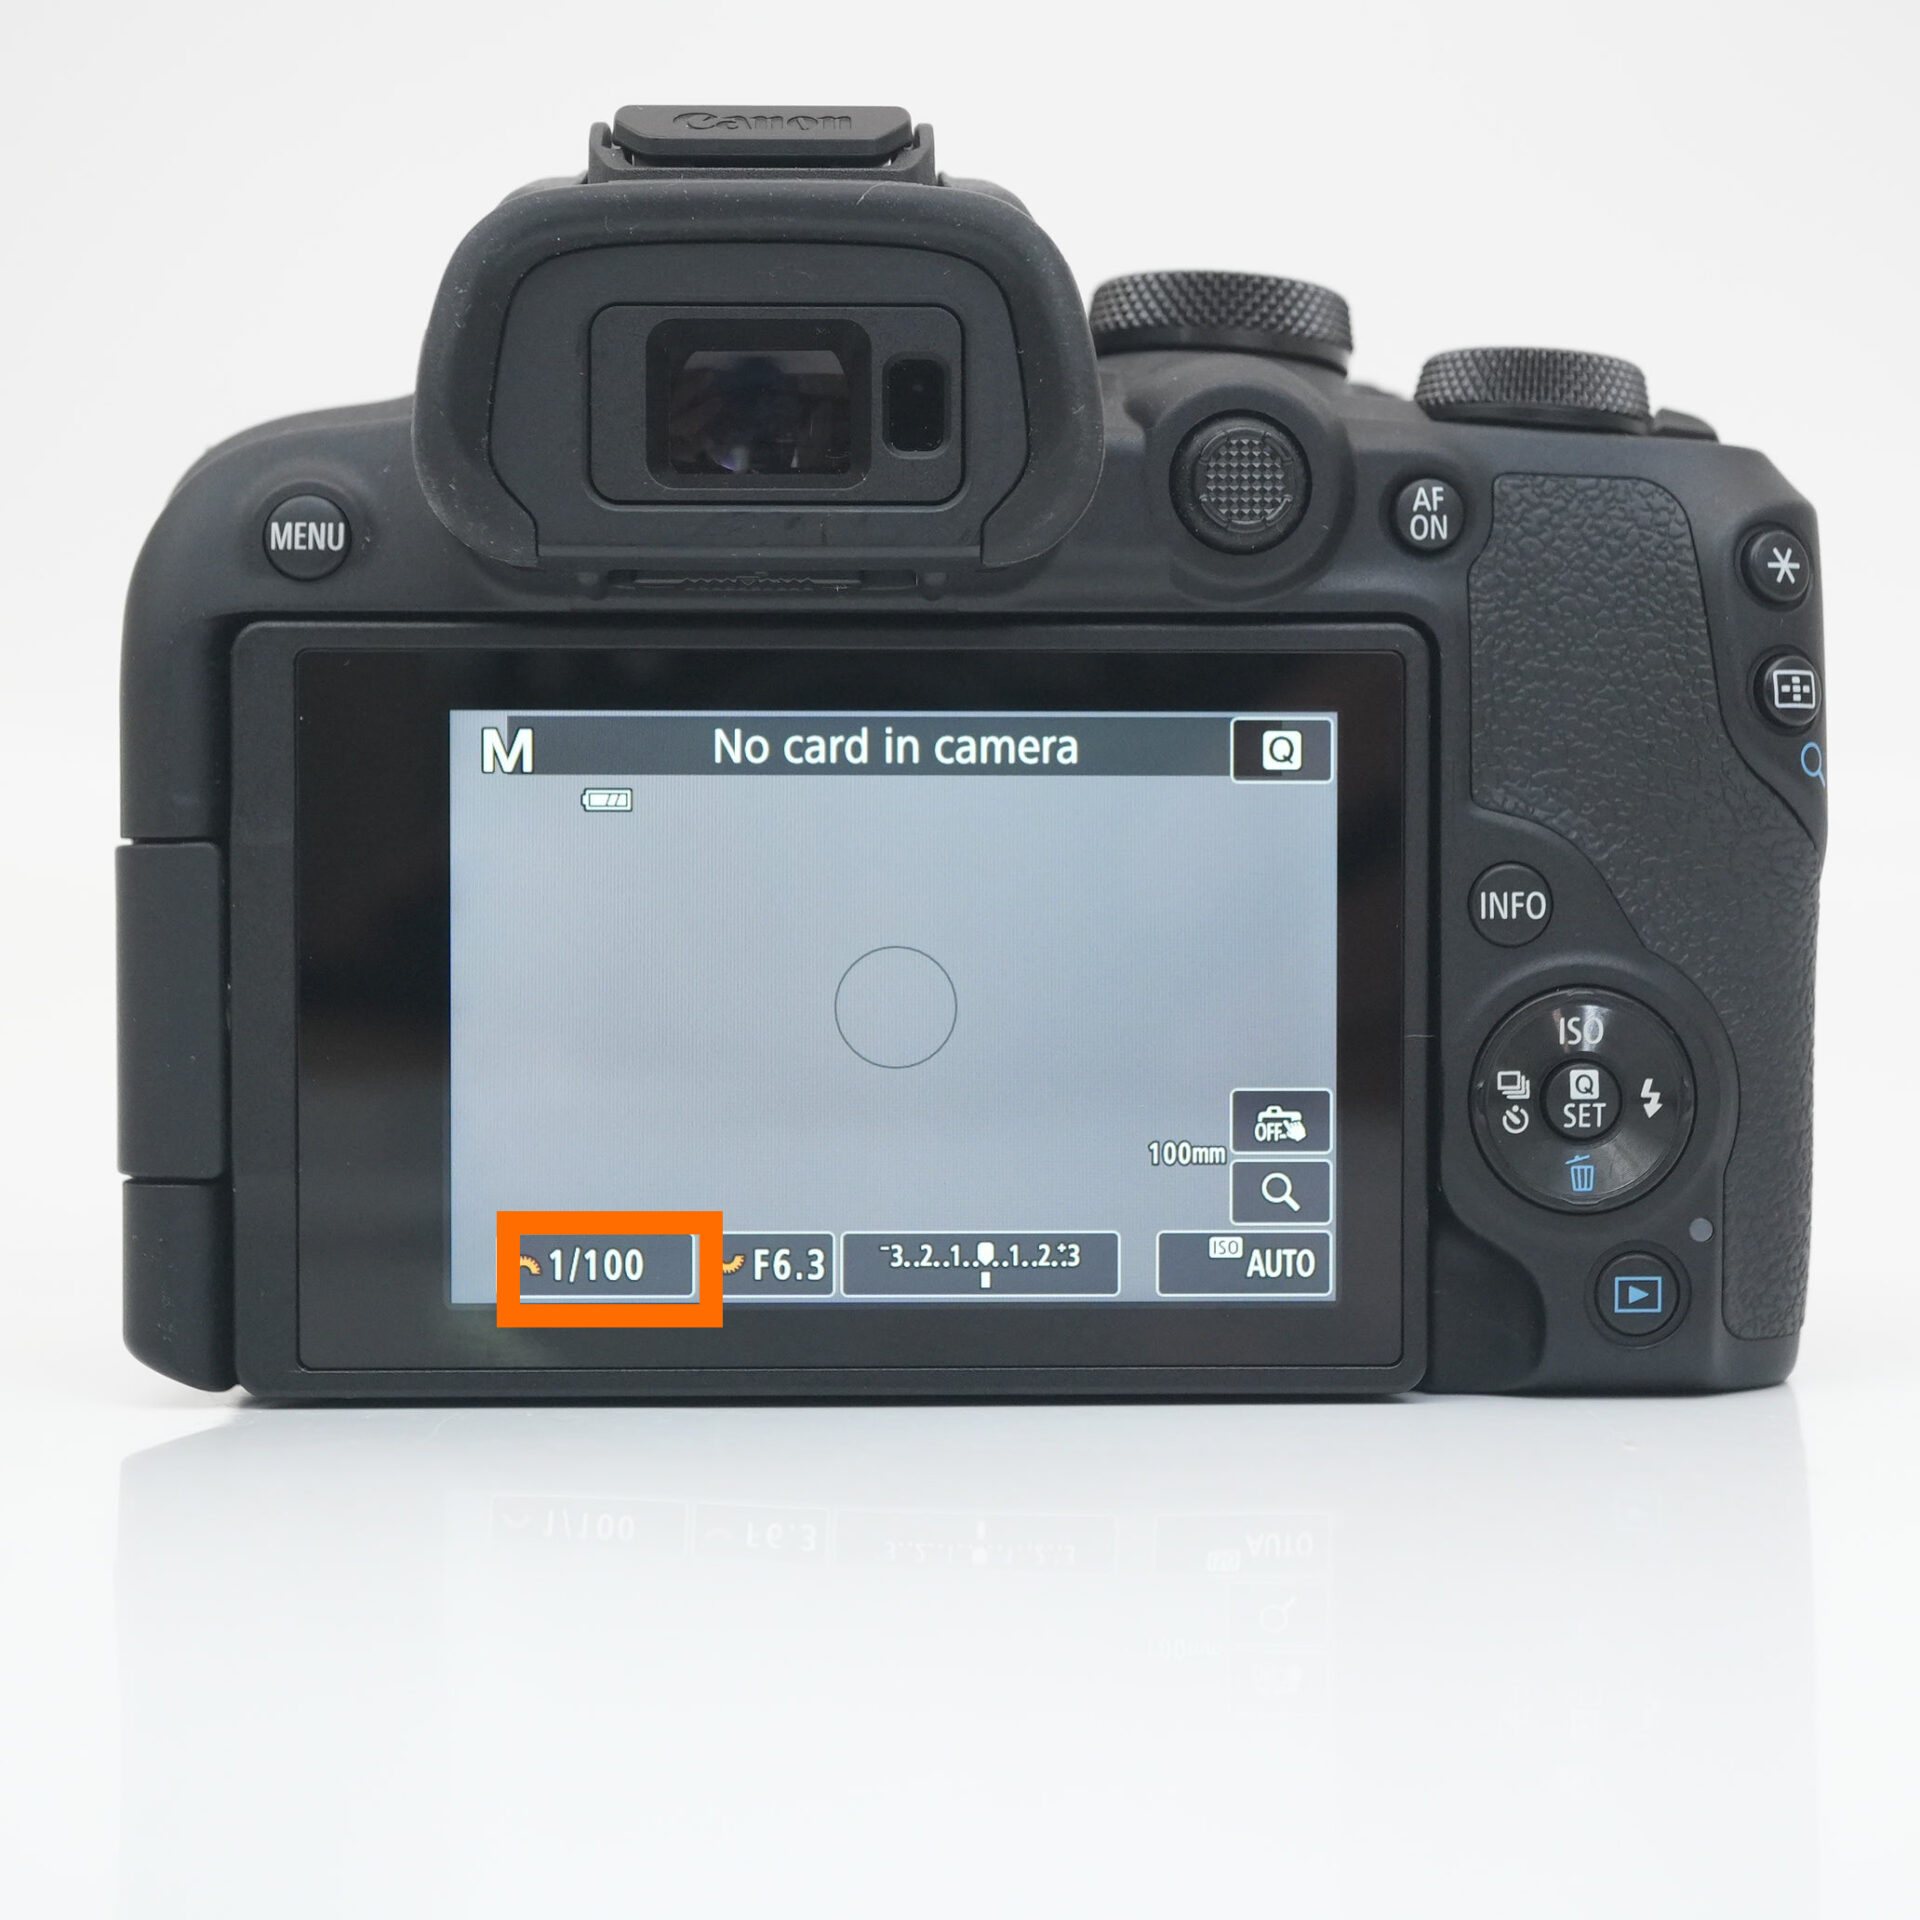 |
| SS to 1/100 |
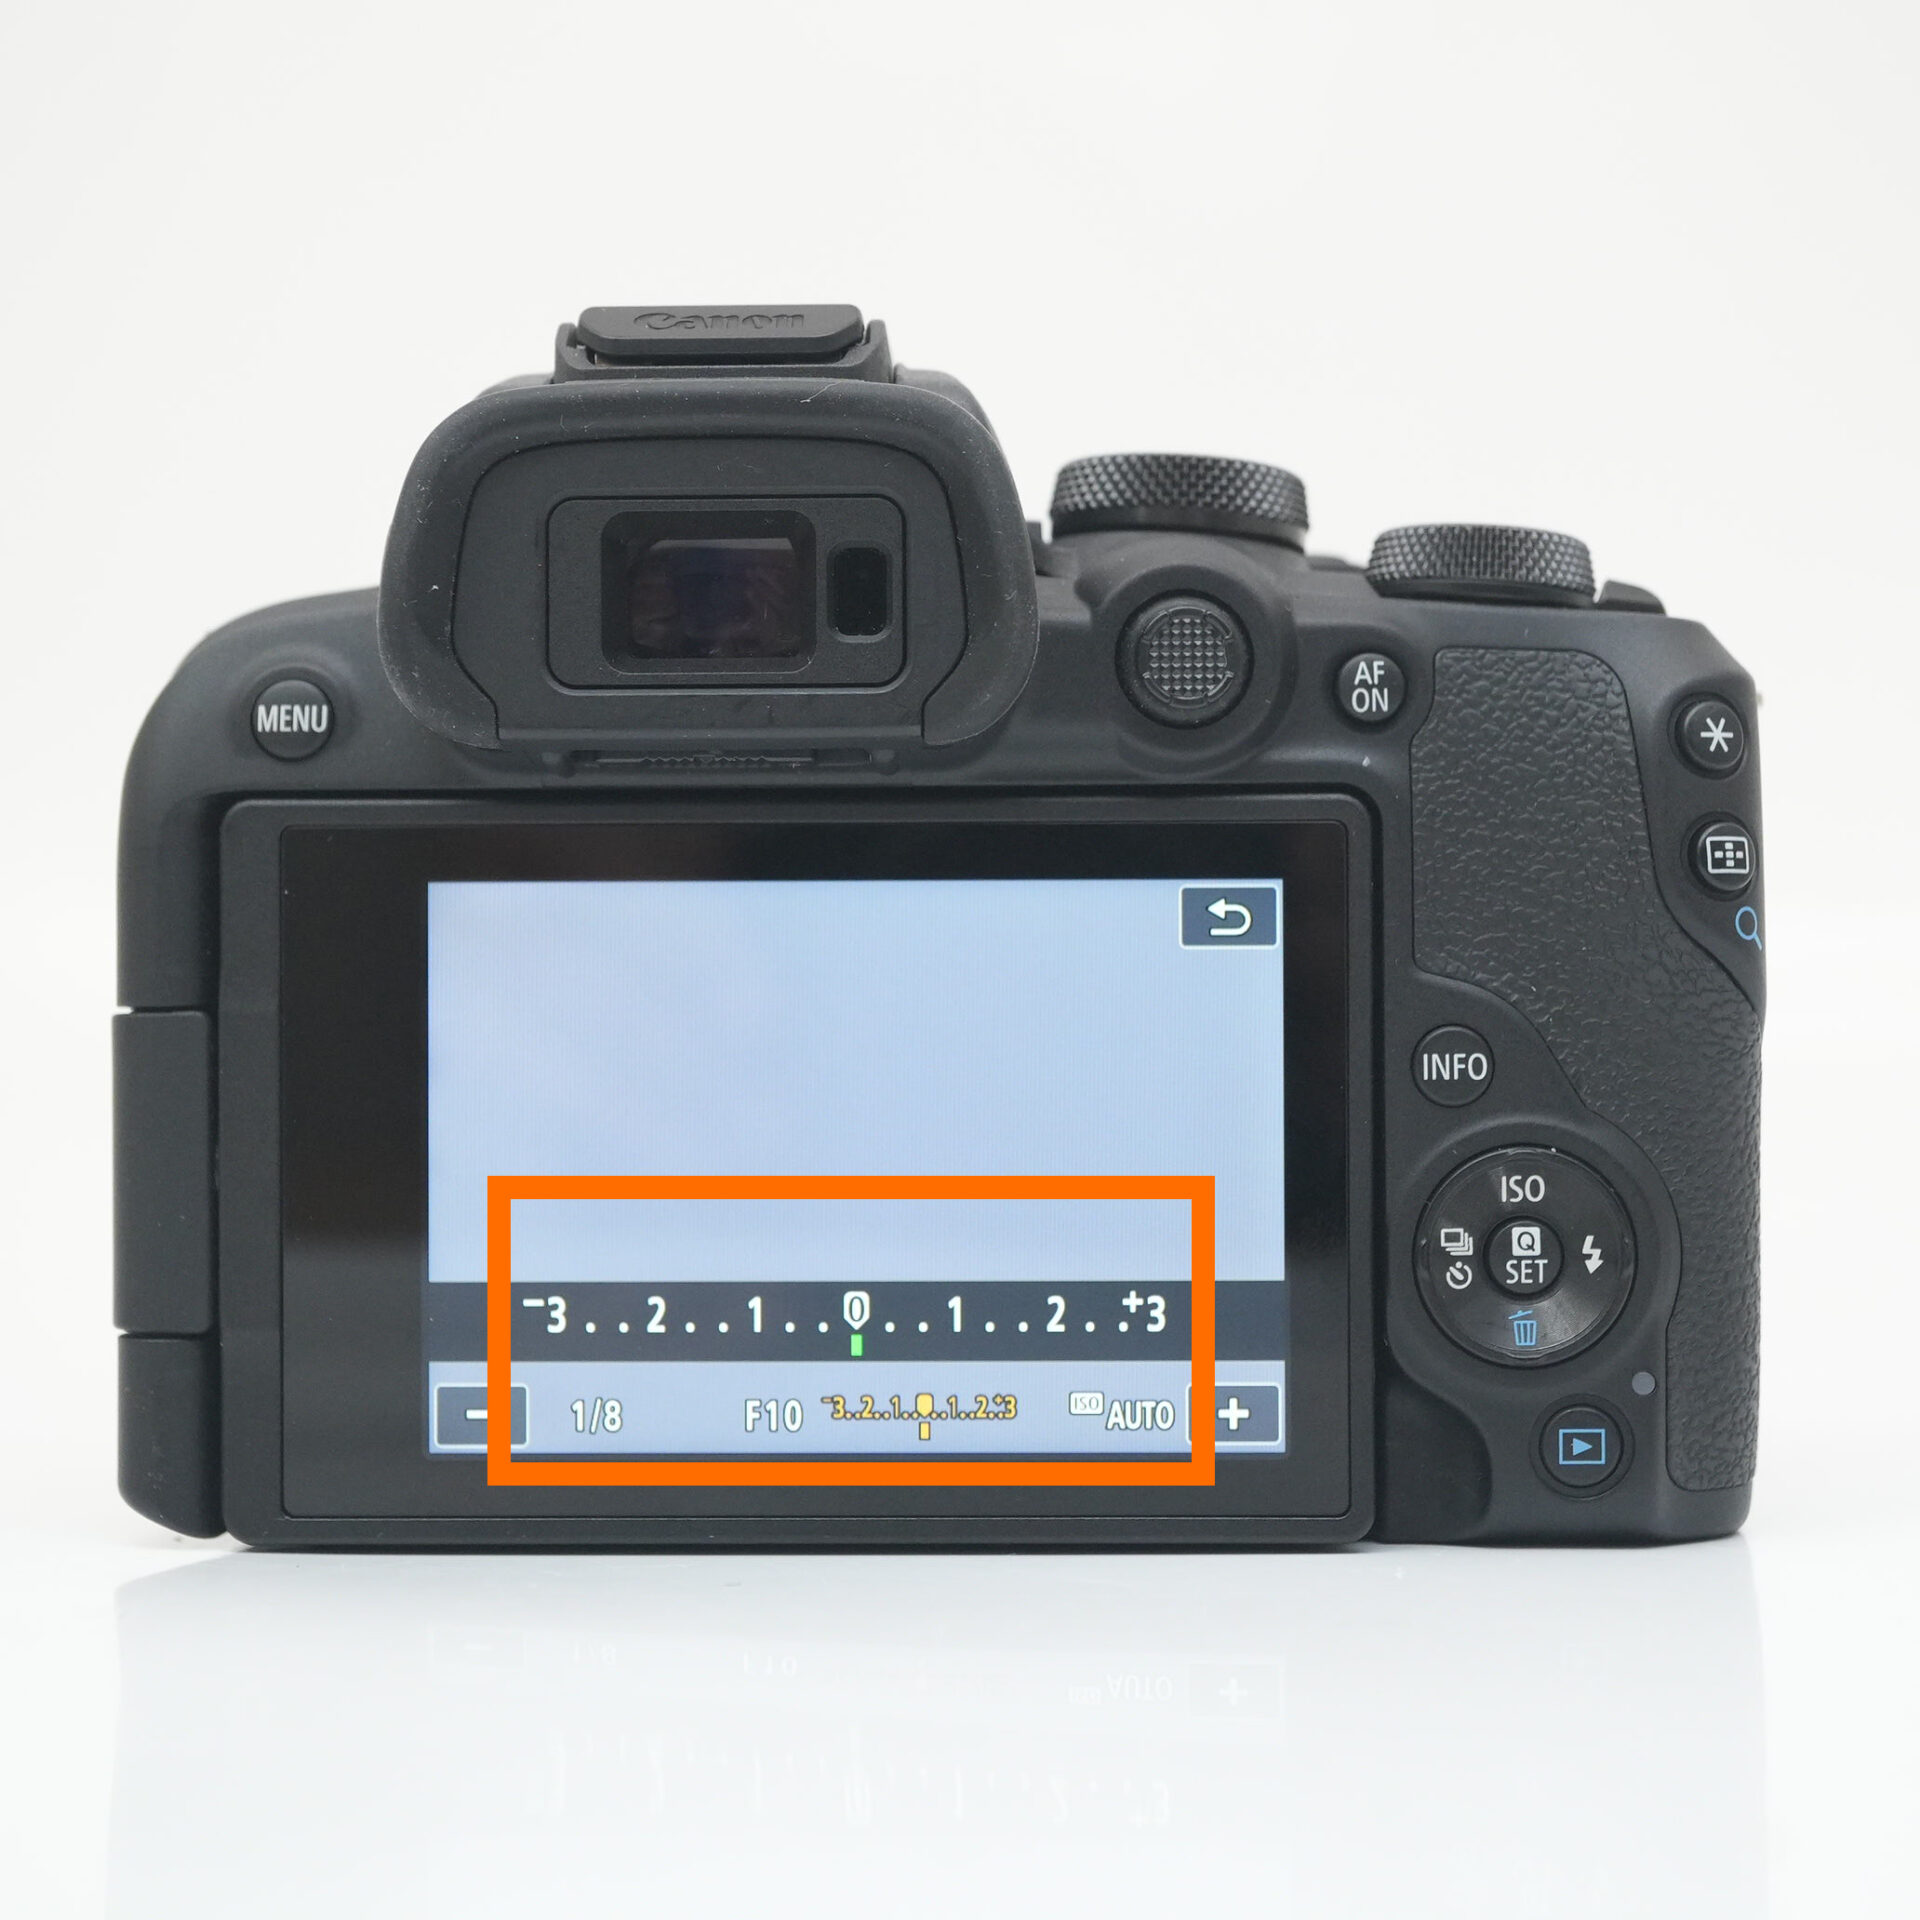
Master exposure compensation!
In dark places like an aquarium, photos may come out darker than you expected.
In situations like this, "exposure compensation" is useful.
Exposure compensation allows you to adjust the camera's standard brightness by either positive (brighter) or negative (darker).
STEP.1
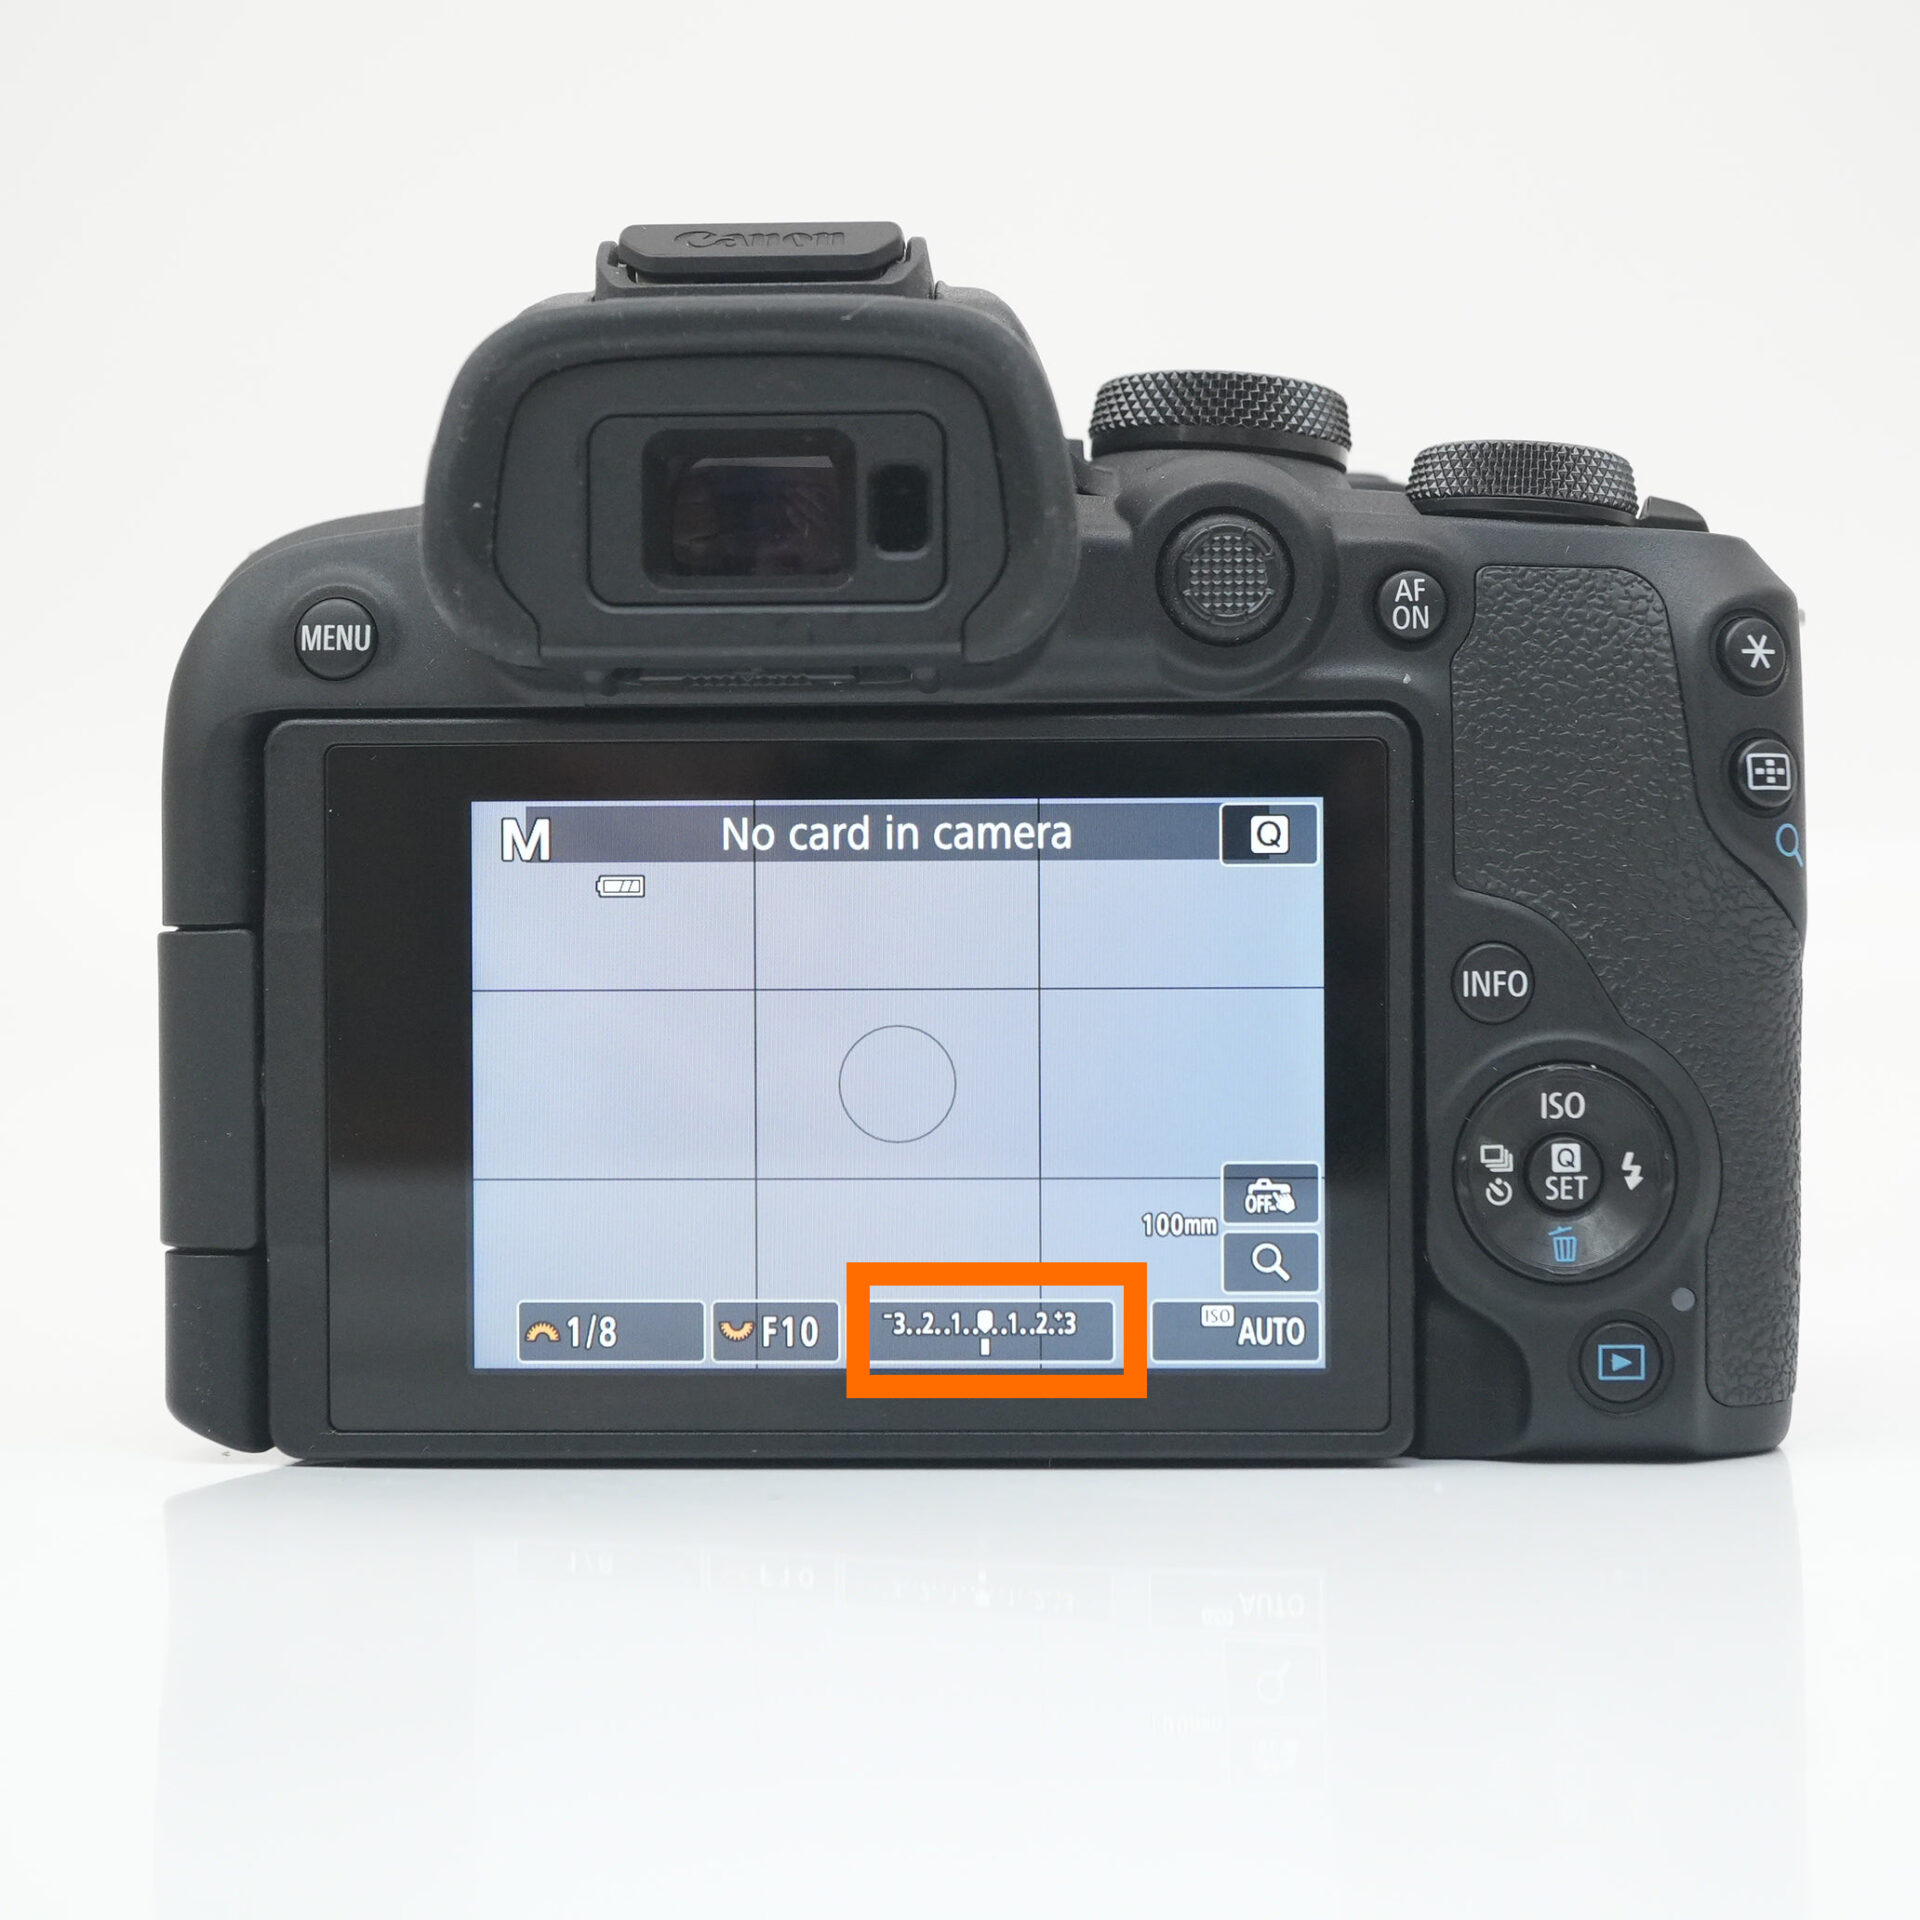 |
| Tap the exposure compensation screen |
 |
| Set appropriate brightness |
White balance is recommended to use the light bulb mark
Setting it to the light bulb mark gives the image a bluish tint, emphasizing the transparency of the water and its cool atmosphere.
Another major benefit is that it also suppresses the yellowish color of the lighting, making the colors of the fish look more natural.
The colors also become more bluish, creating a more atmospheric effect.
STEP.1
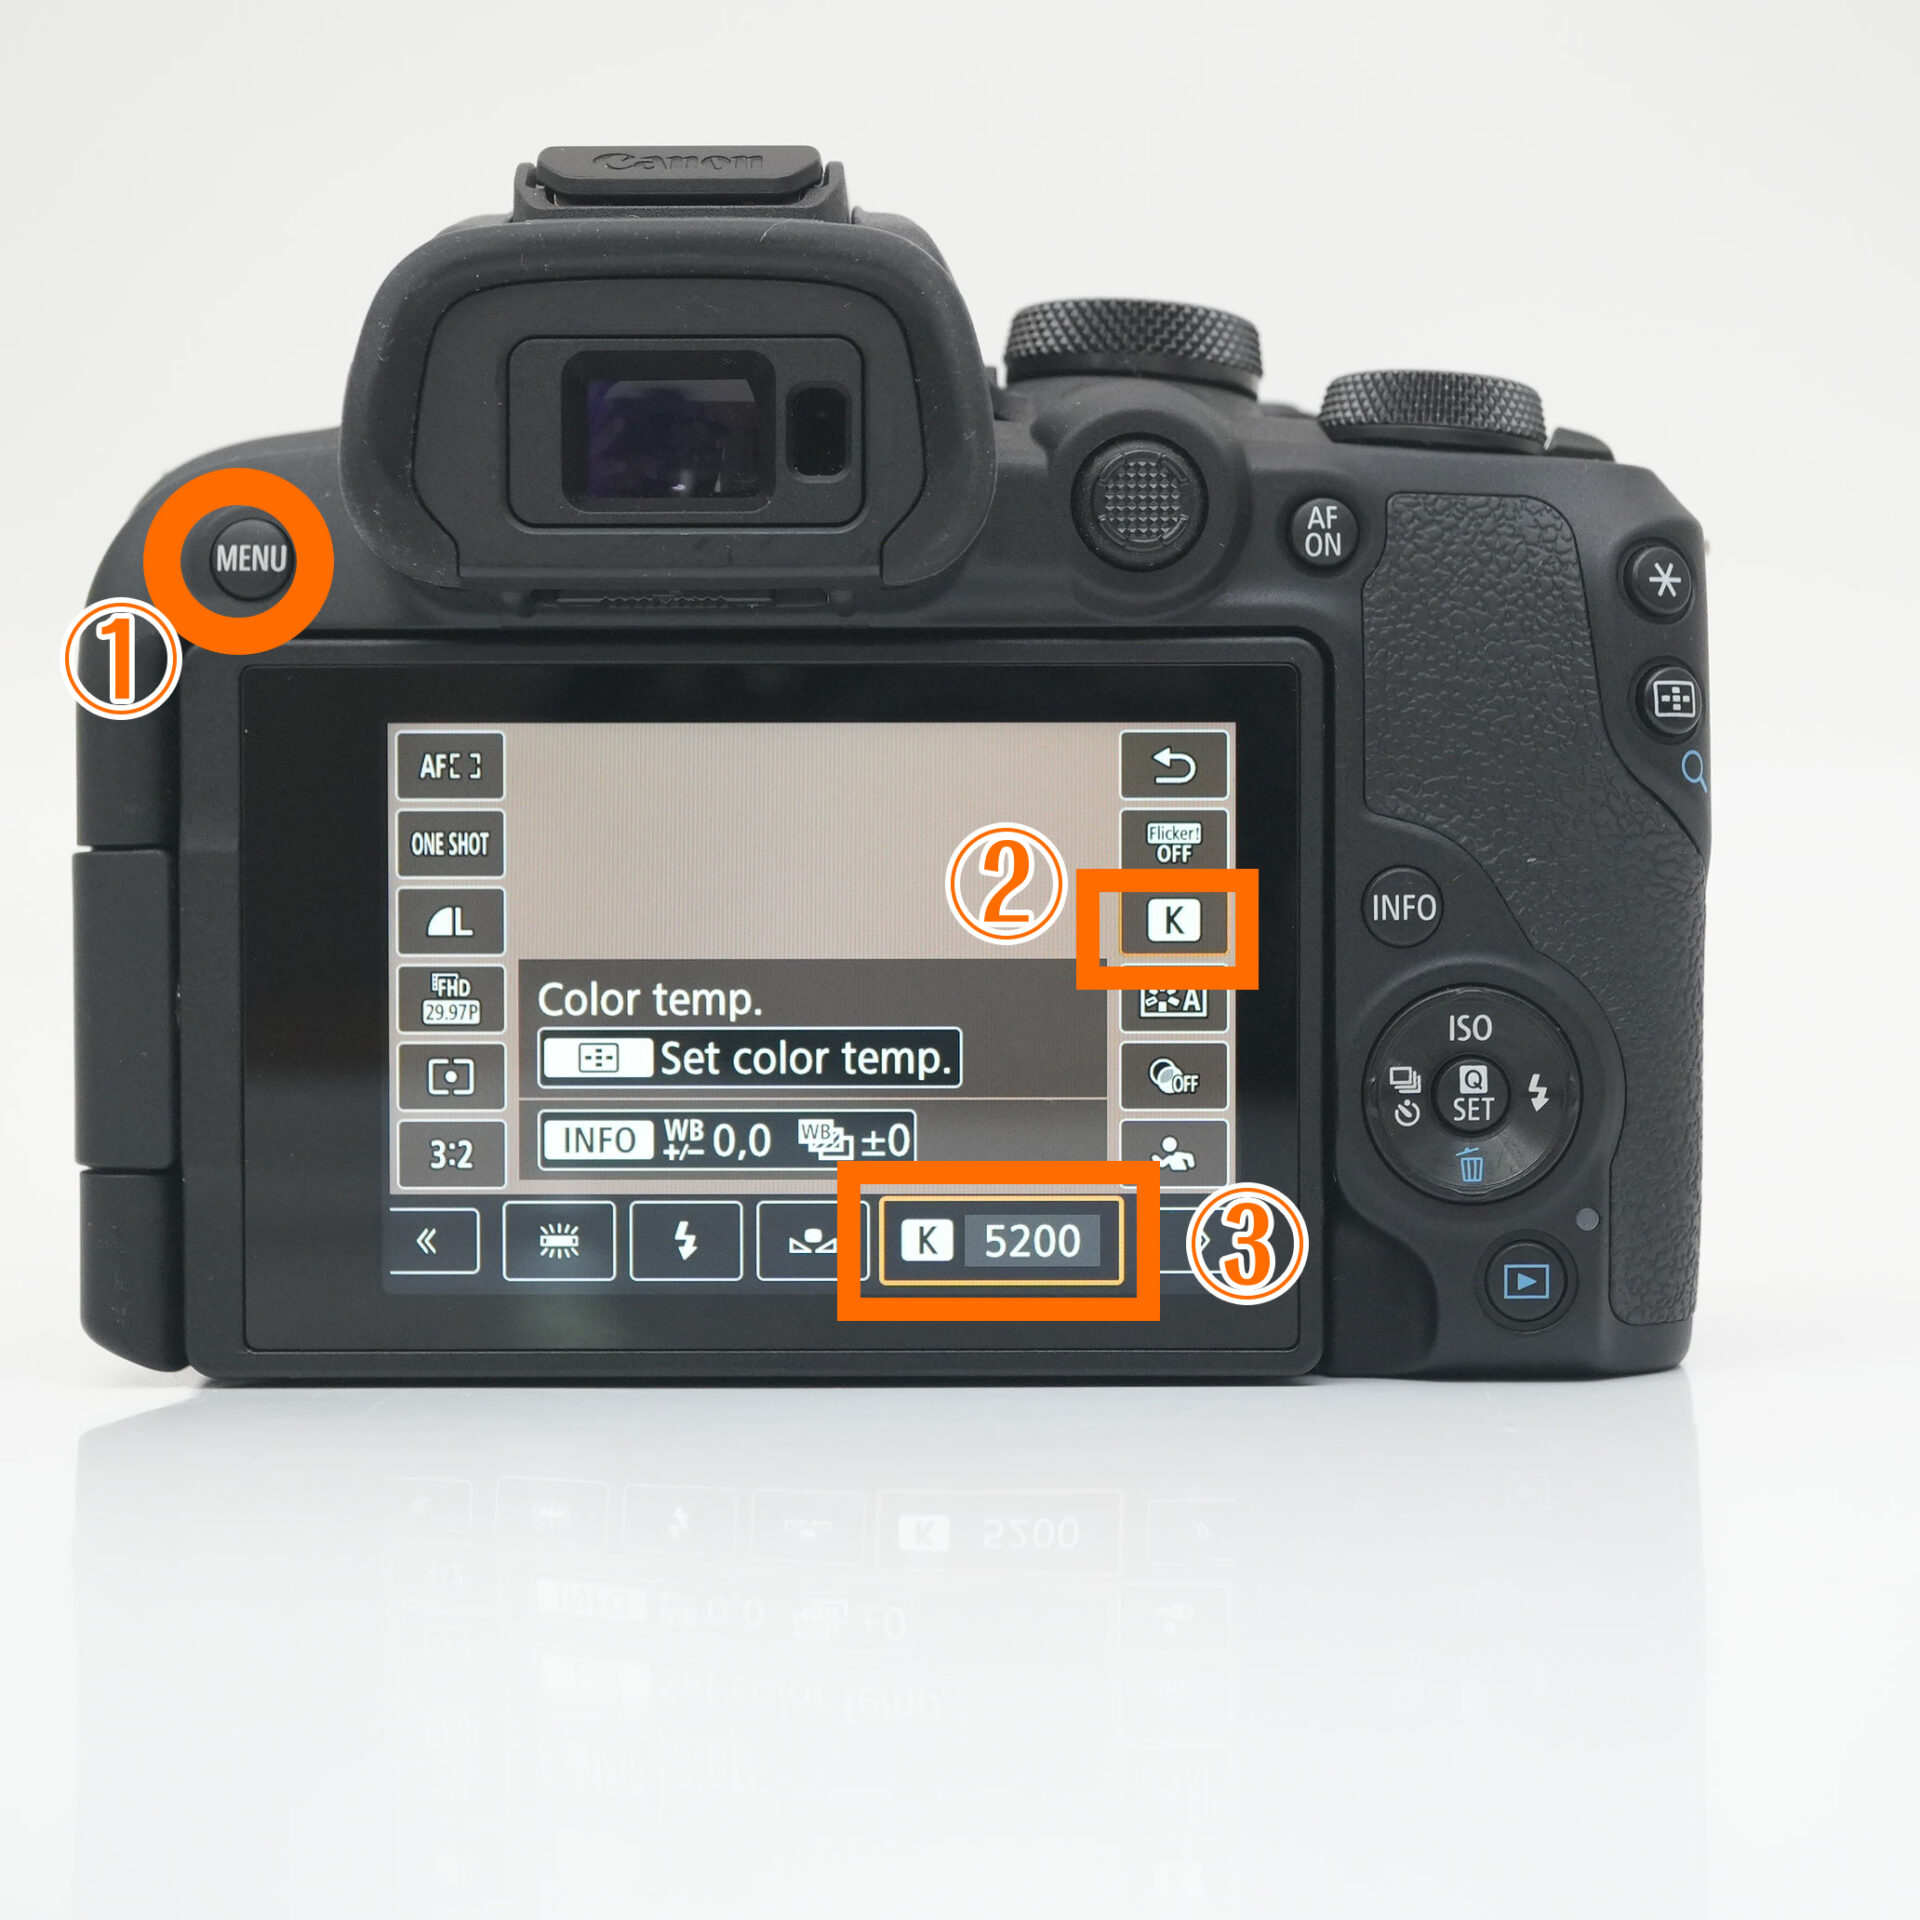 |
| Menu → White balance → K |
STEP.2
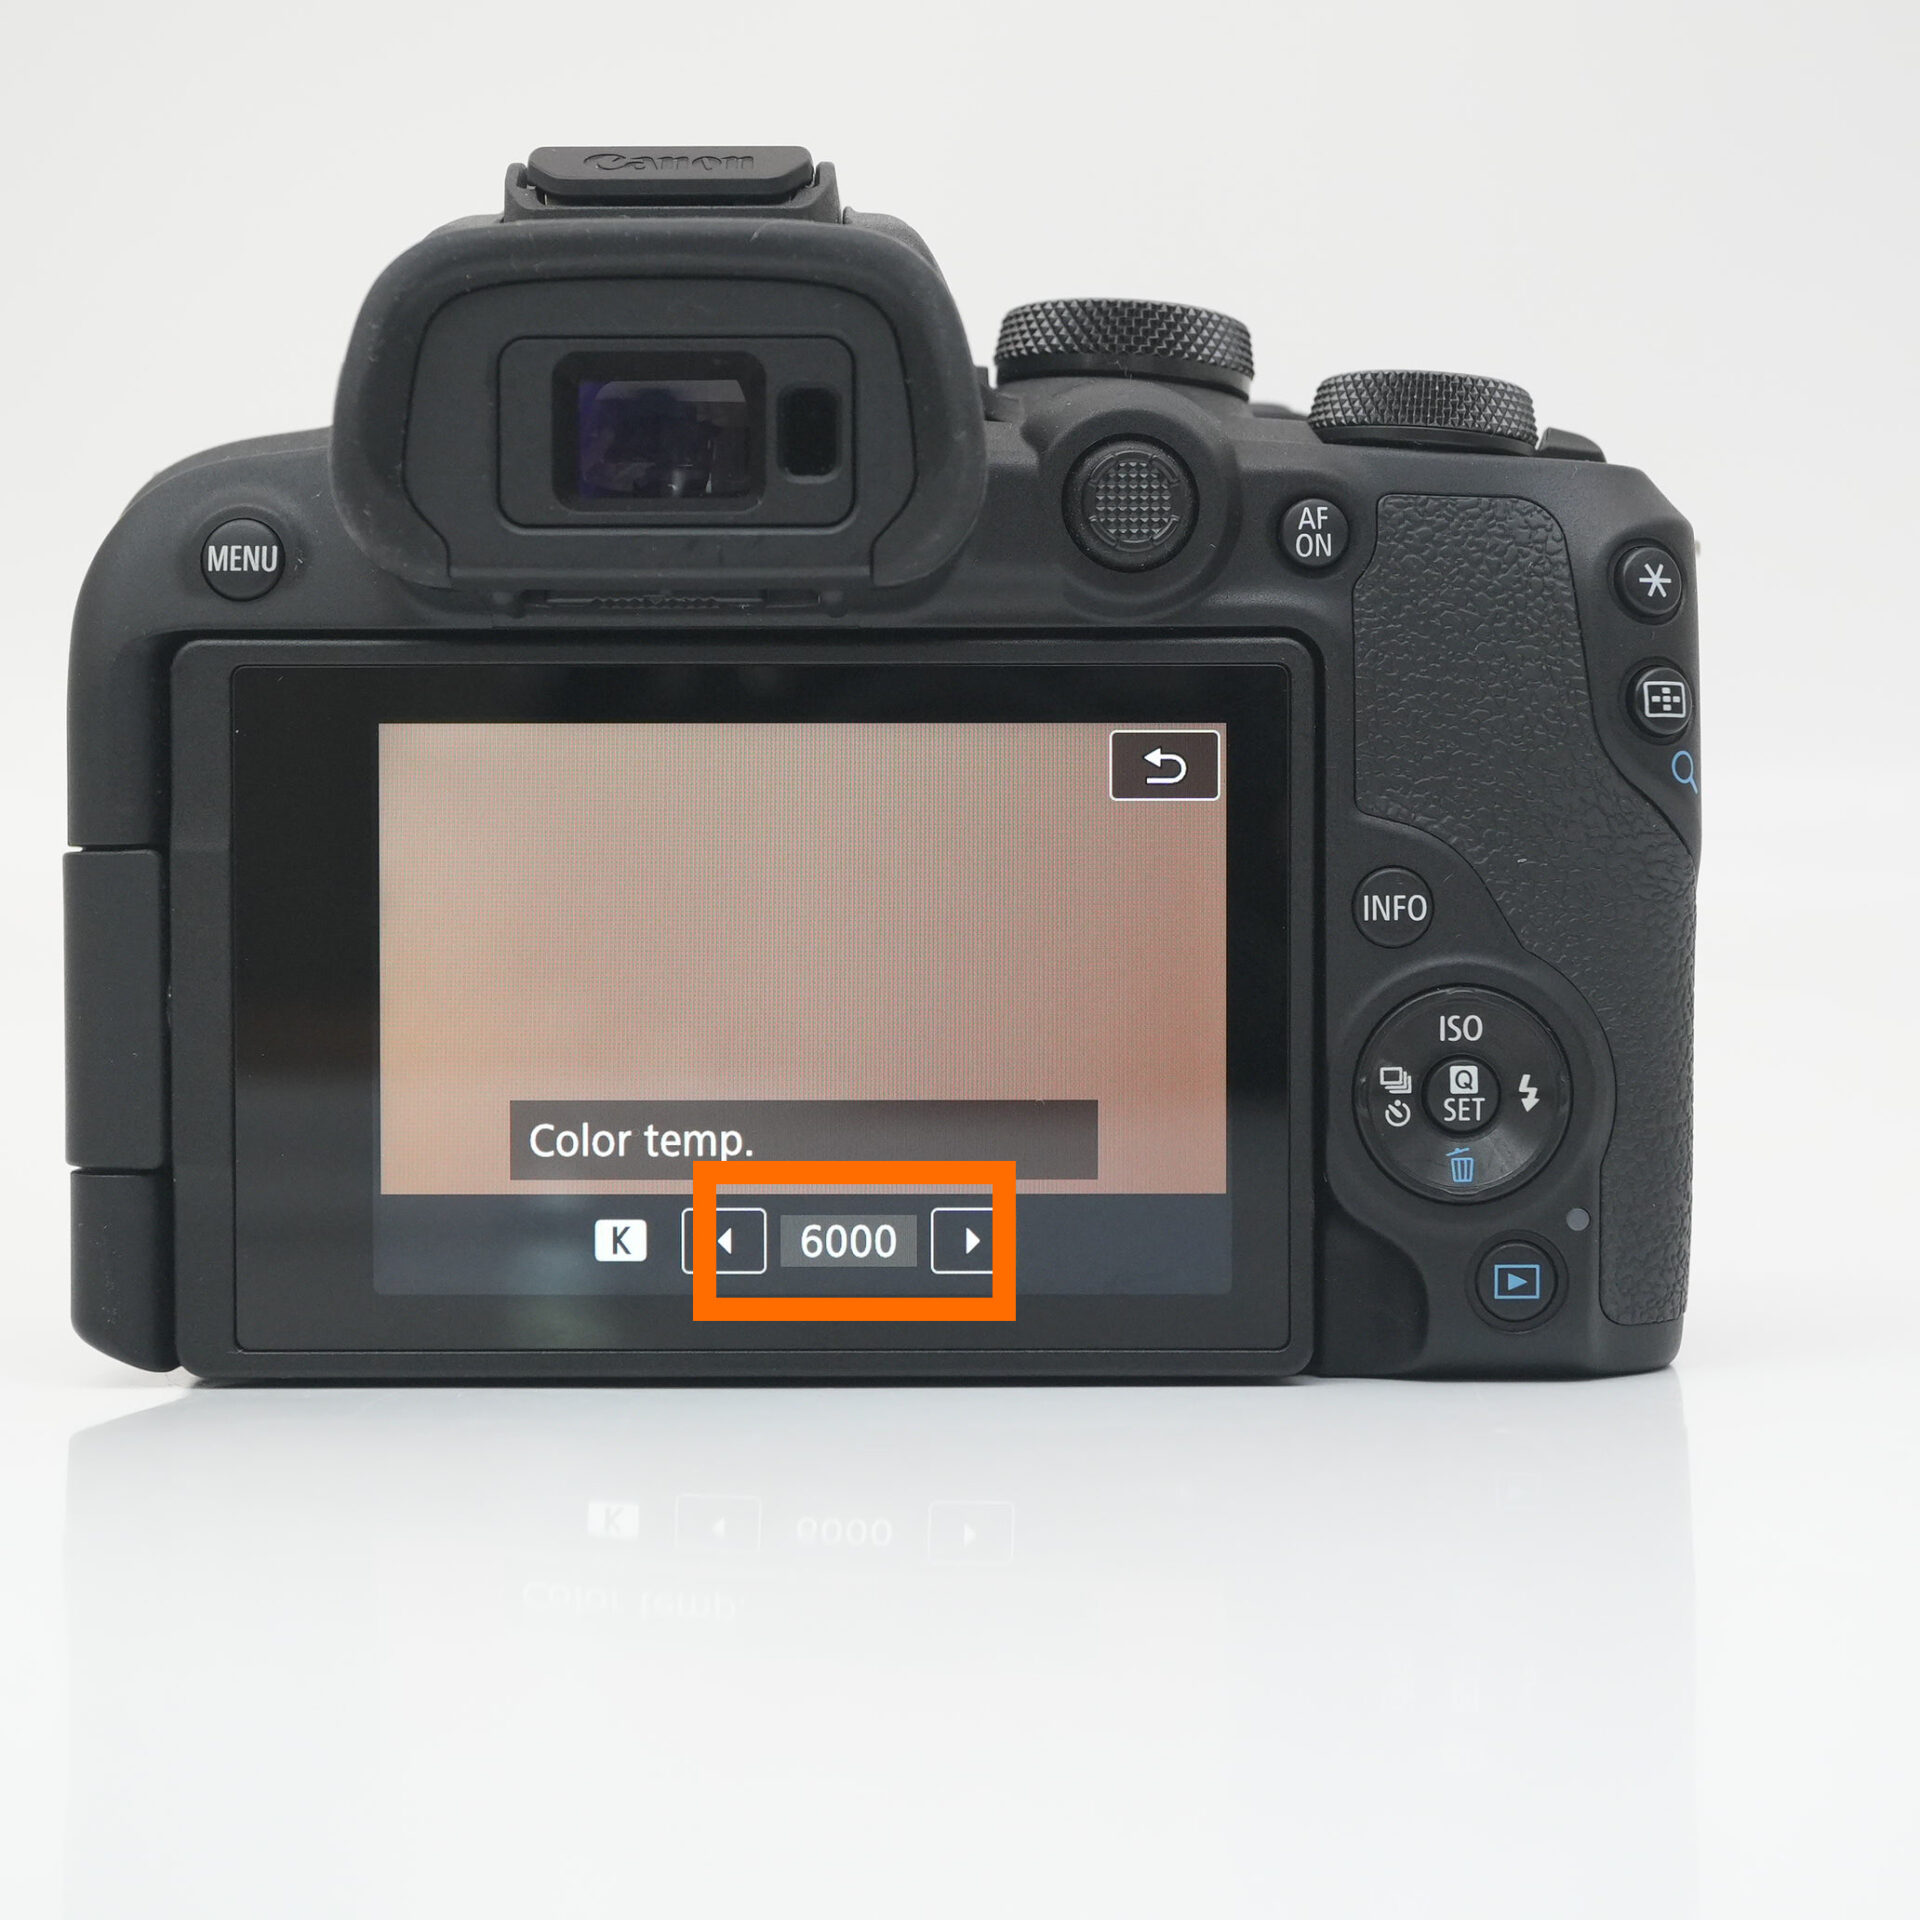 |
| Set it to 6000k |
Shooting without glass reflections
Since you're shooting through glass, you may find that you're reflected in the photo.
Holding the lens against the glass will scratch it, so you can prevent reflections by leaving a gap of a few centimeters and holding your hand over the glass to block the light.
summary

As we've introduced here, anyone can take amazingly beautiful photos by simply adjusting the shutter speed, F-stop, ISO, white balance, etc.